

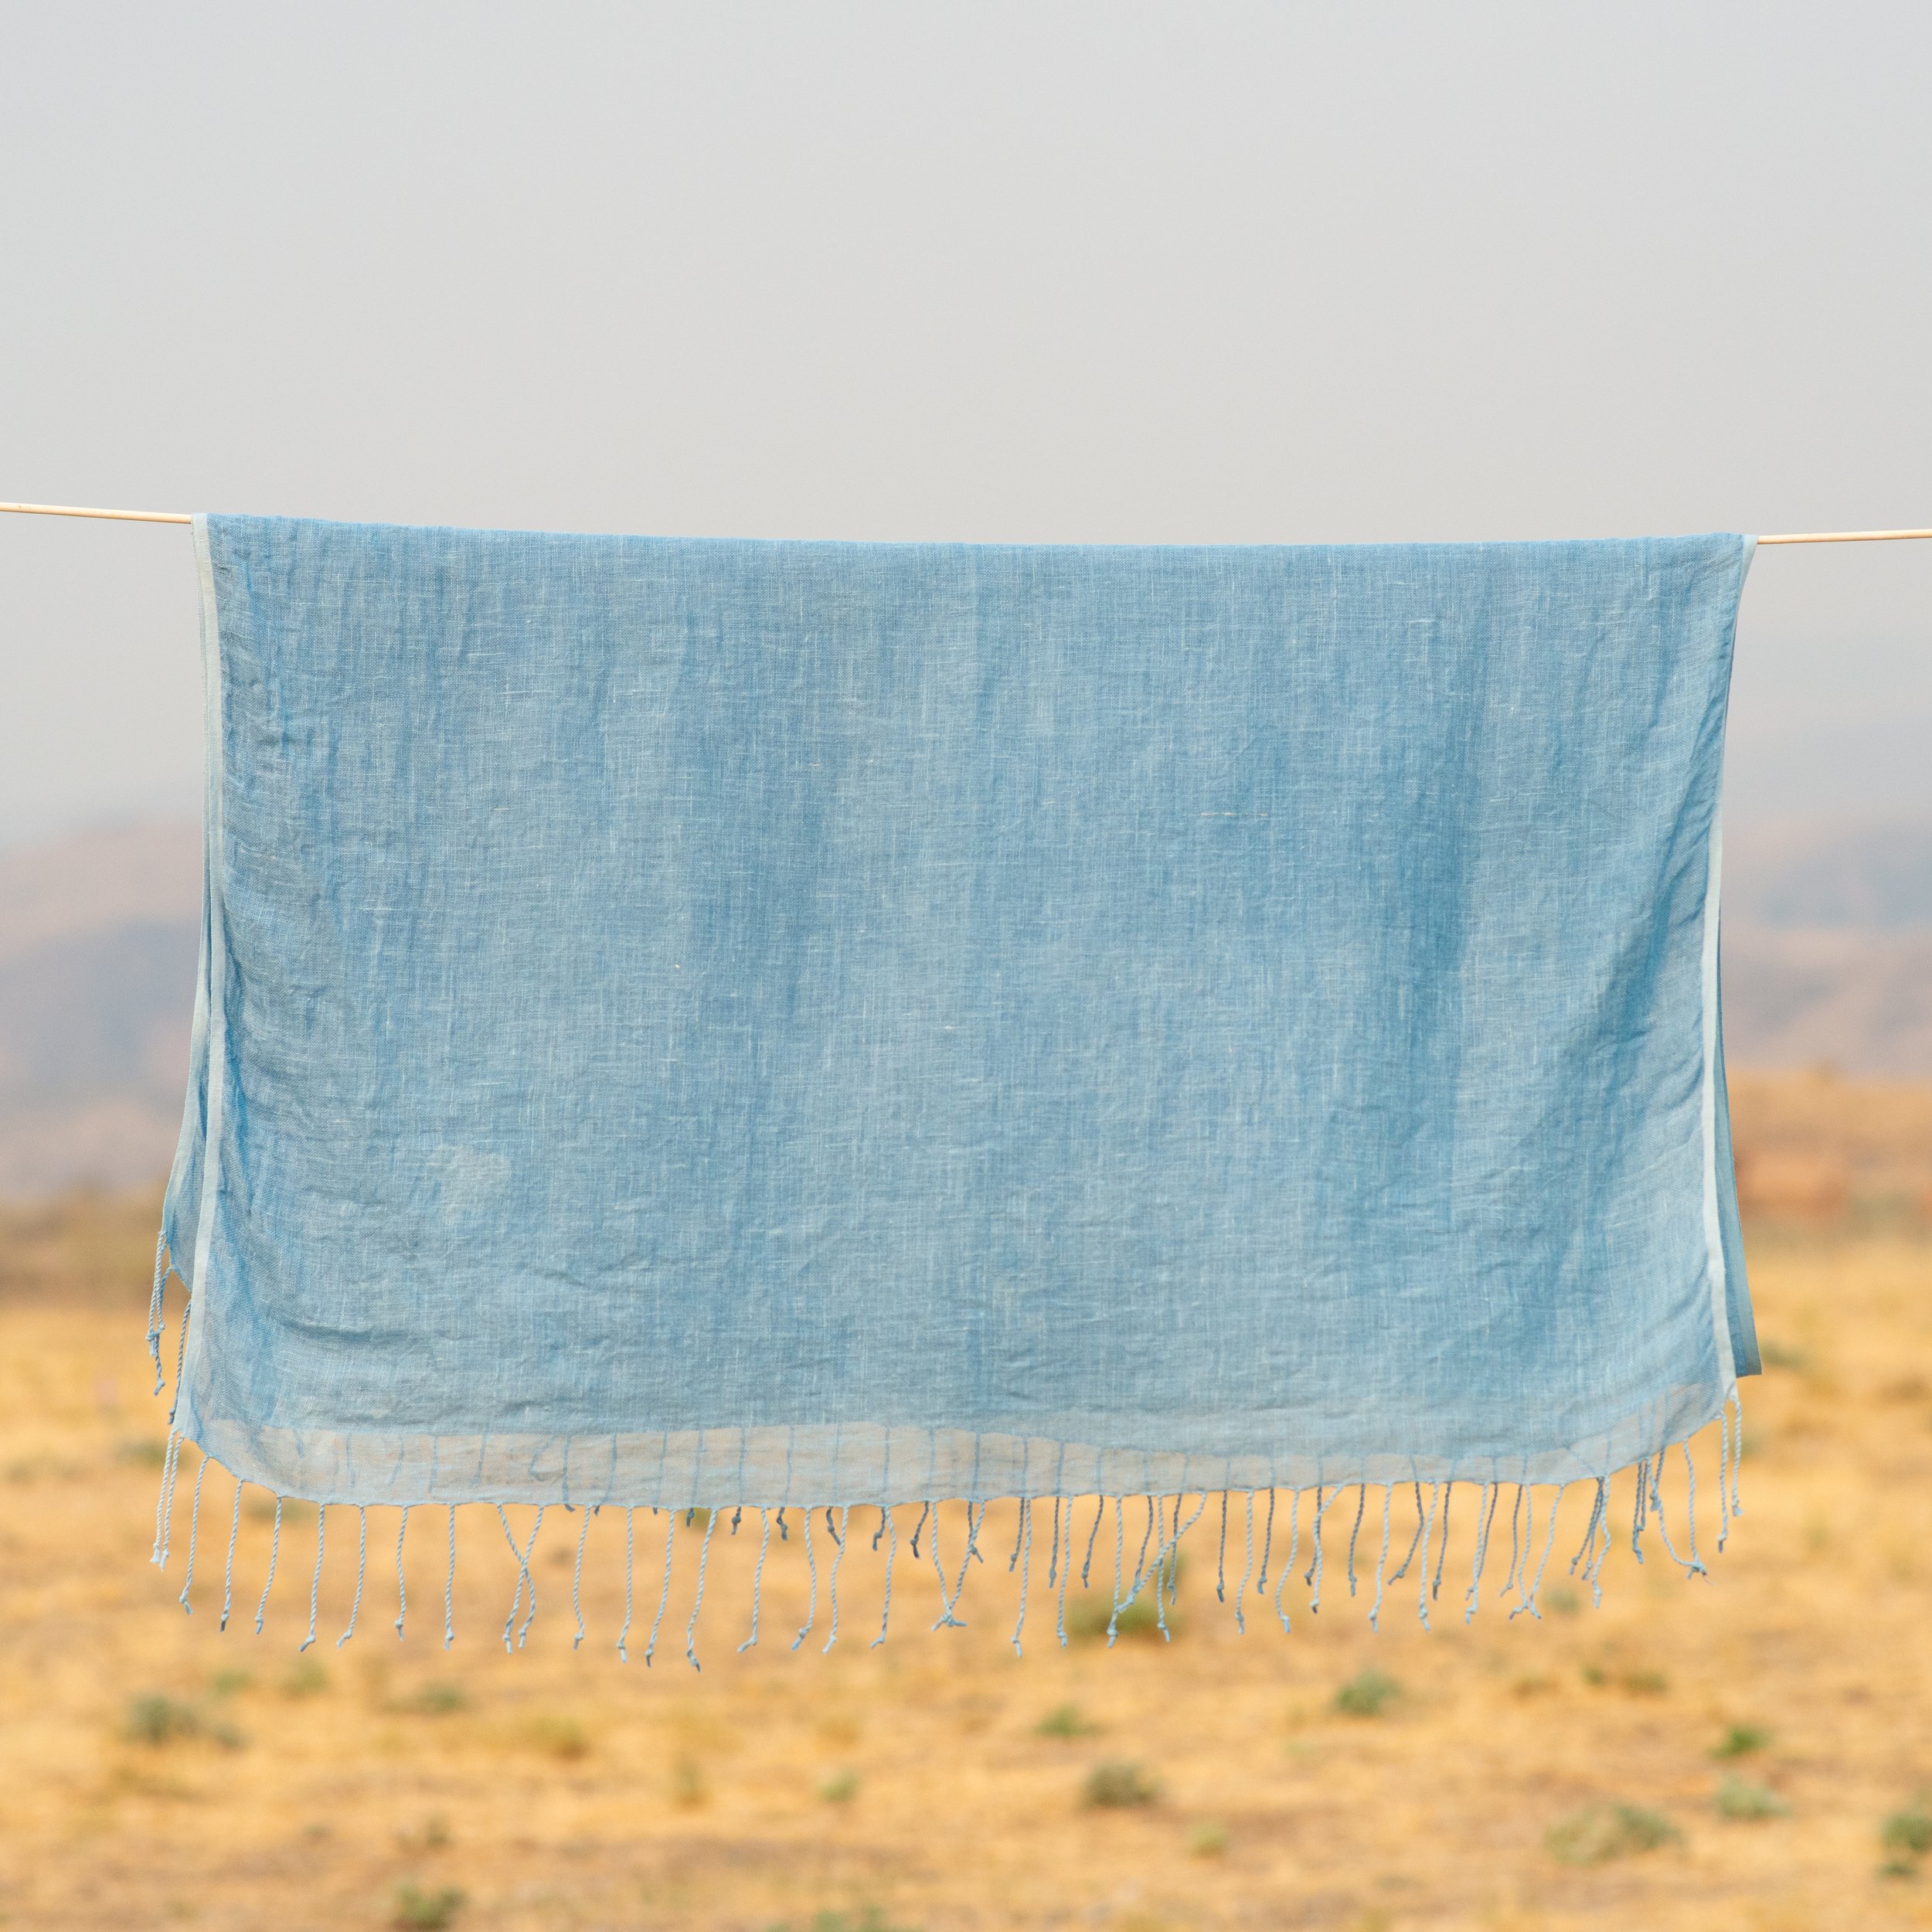
Woad Extract
Woad Extract
THE HISTORICAL BLUE OF EUROPE
Shepherd Textiles Woad Extract is made from the leaves of isatis tinctoria, the woad plant native to northern Europe. Woad was grown and harvested as a blue dye for thousands of years, and it was a major industrial crop in much of northern Europe until it was displaced by indigo imported from India and the American colonies. Woad contains the same blue pigment as indigo, but in a smaller concentration, and it produces beautiful sky blue and periwinkle blue shades on all natural fibers. Note that like indigo, woad has to be dissolved in a reduction vat before it can be applied as a dye. Product of France.
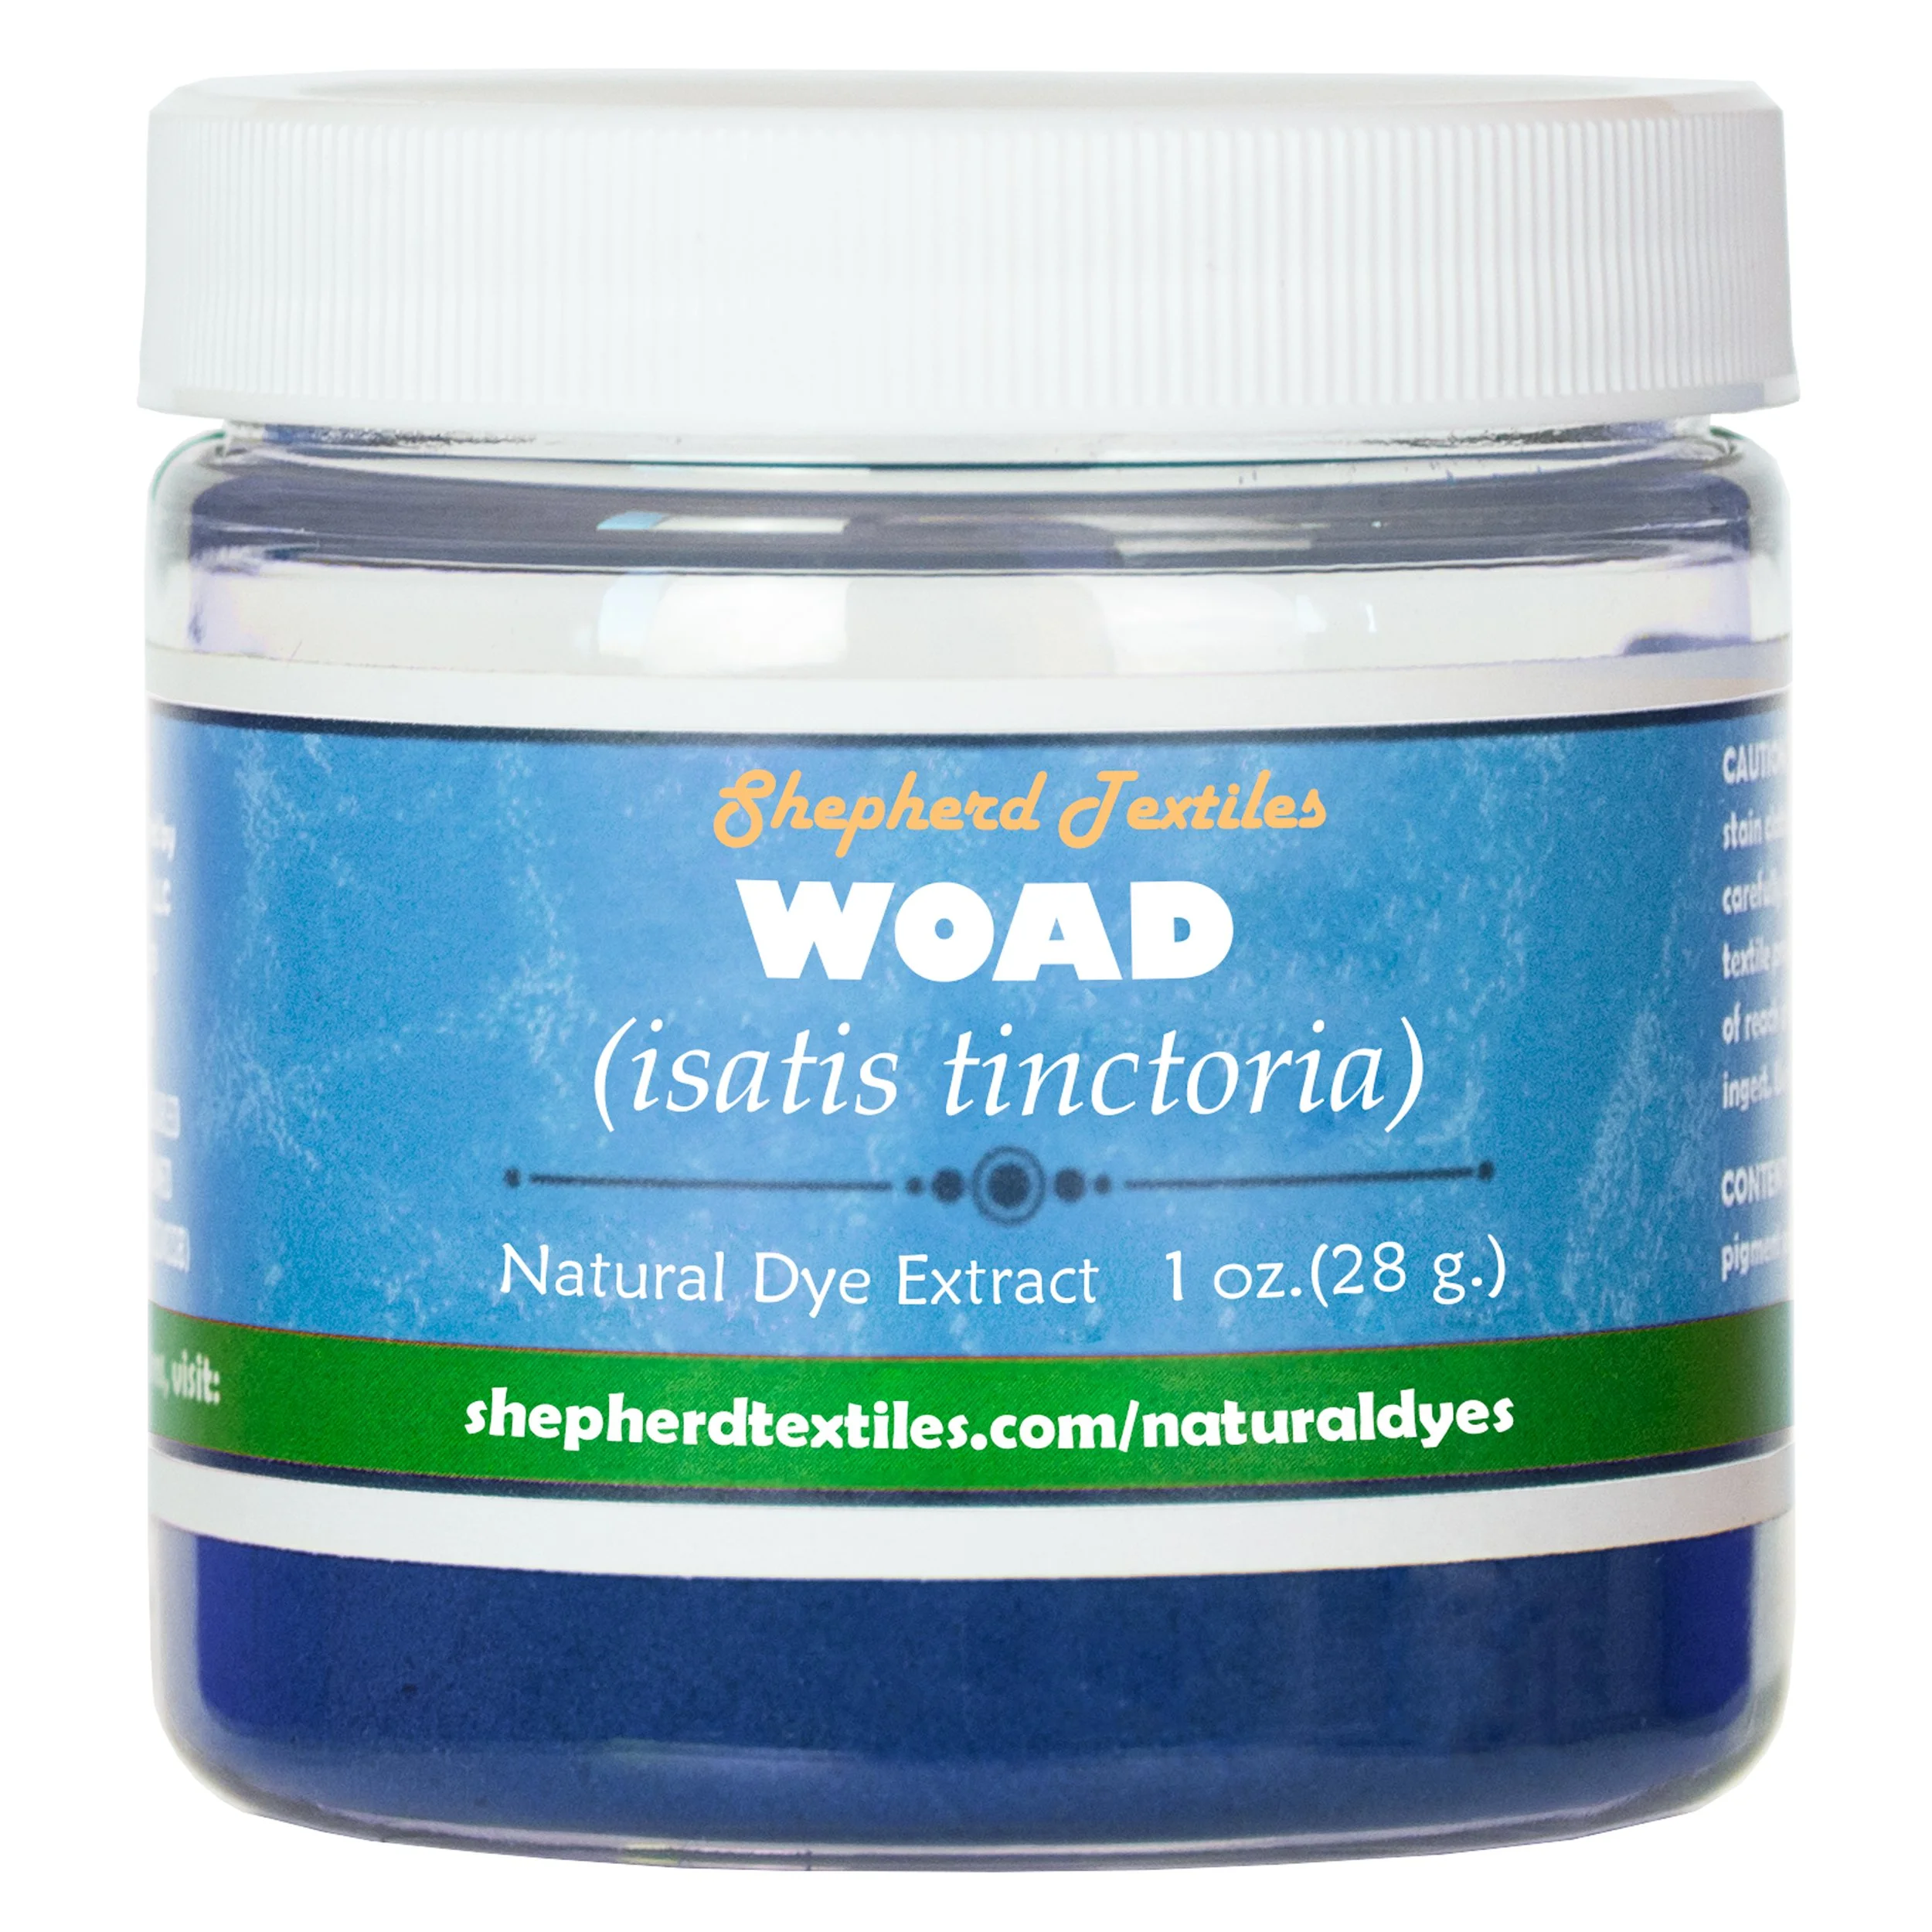
Shepherd Textiles Woad Extract is made from the leaves of isatis tinctoria, the woad plant native to northern Europe. Woad was grown and harvested as a blue dye for thousands of years, and it was a major industrial crop in much of northern Europe until it was displaced by indigo imported from India and the American colonies. Woad contains the same blue pigment as indigo, but in a smaller concentration, and it produces beautiful sky blue and periwinkle blue shades on all natural fibers. Note that like indigo, woad has to be dissolved in a reduction vat before it can be applied as a dye. Before using, check out our Guide to Dyeing With Woad Extract for background, instructions, and important safety information. Product of France.
1. Background on Woad
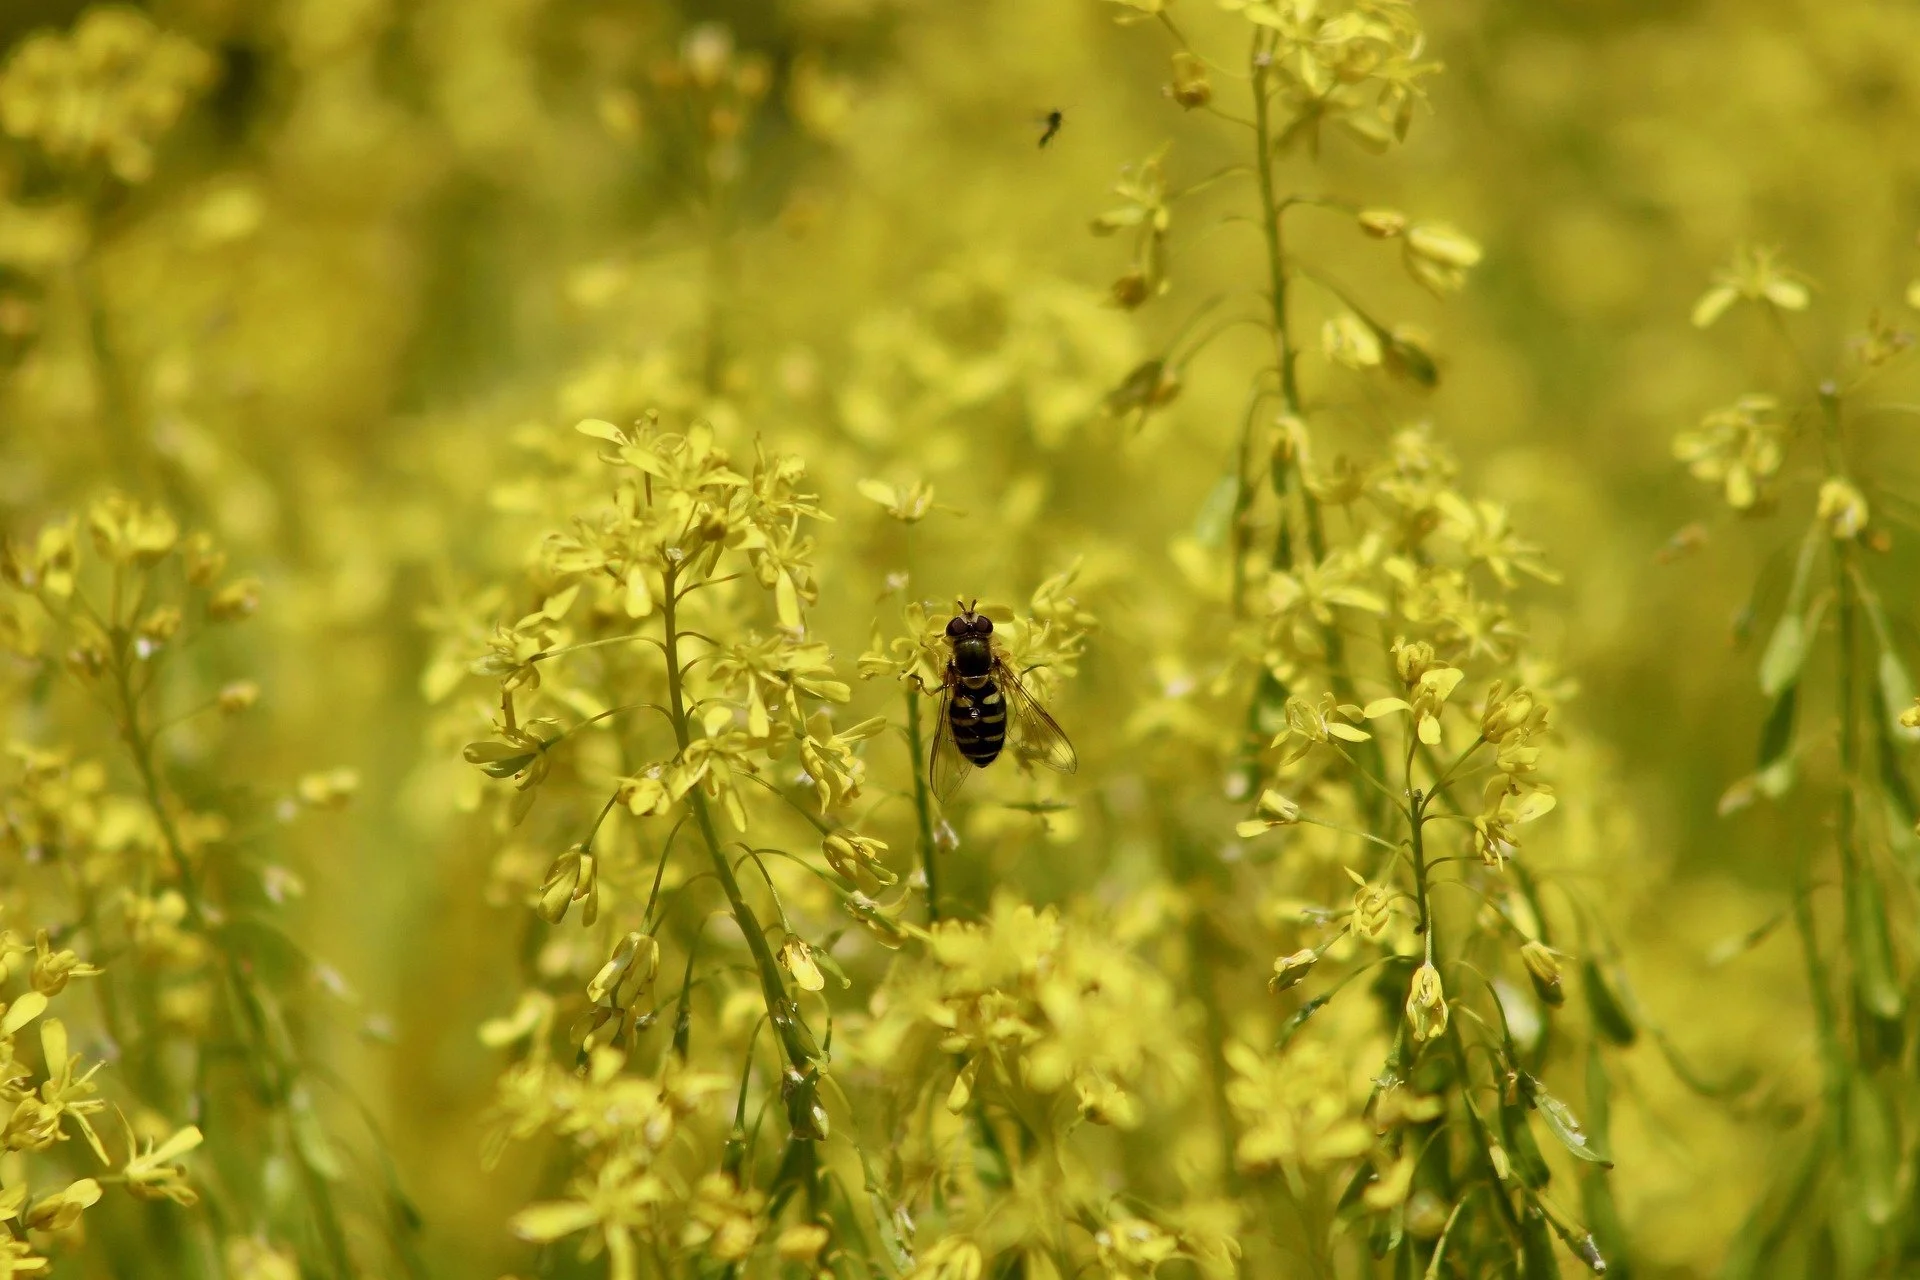
Woad is Europe's native blue pigment. It contains the same dyestuffs as indigo (indigotin and indirubin) but it comes from a very different source. Woad is extracted from isatis tinctoria, a small flowering plant that grows wild across much of northern Europe. Woad has been used to dye textiles across Europe for thousands of years: archaeological evidence places woad dyeing in France as far back as the Neolithic period, and it colored the wool and linen of ancient Britons, Gauls, and Germanic peoples long before tropical indigo ever reached European ports. For centuries woad was one of the most valuable crops a farmer could grow, and entire regions built their wealth on it — the "pastel" trade around Toulouse in southern France financed grand townhouses still standing today, and English woad growers in Somerset and Lincolnshire supplied dyers across the country. But when true indigo began arriving from India and the Americas in the 16th and 17th centuries, offering far higher indigotin content for a much cheaper price, the woad trade quickly declined. Today woad is produced only in very small quantities by artisan farms in Europe.
Woad extract is applied in exactly the same way as true indigo. It is not a mordant dye, and it is completely insoluble in water in its oxidized blue form. It must be reduced to soluble leuco-indigo inside a special “reduction vat” before it can penetrate the fiber. Afterwards, the fibers are removed and the woad returns to its blue, insoluble state through oxidation in the air. Because woad contains a smaller concentration of indigotin than the indigo plant, along with a different balance of accompanying plant compounds, it tends to produce softer blues with a slightly different hue — a quality many dyers seek out specifically for its subtlety and historical character. Shepherd Textiles Woad Extract can be used in any standard indigo reduction vat; two ounces will dye about a pound of fiber to a sky blue shade. See our dyeing guide below for an easy “1-2-3” vat that uses fructose sugar rather than chemical reduction agents.
2. Safety Precautions
This product is intended for textile projects only.
Not for use in food, cosmetics, or hair care products.
Do not ingest.
Avoid eye contact. If eye contact occurs, rinse well with cool water.
Avoid direct skin contact. If skin contact occurs, rinse well with cool water.
Wear gloves, a mask, and eye protection while handling the dry pigment. Work in a well-ventilated space, and wash hands after use.
Open carefully to avoid spilling or creating dust. If a spill occurs, quickly wipe up with a paper towel or disposable rag.
Woad Extract can permanently dye clothing, countertops, rugs, utensils, or other property. Avoid contact with anything not meant to be dyed.
Use only dye pots and utensils dedicated to dyeing. Do not use any pots, containers, spoons, tongs, thermometers, or other utensils that will be used for food preparation.
Woad Extract, and all dye baths and vats made while dyeing, should be kept out of reach of children and pets. Use only with adult supervision.
Shepherd Textiles, LLC is not liable for any misuse of this product or any unintended staining of your clothing, workspace, or other property. Use only as directed.
3. Recommended Supplies

5-gallon bucket & lid. A standard 5-gallon bucket from a hardware store is a convenient size for a small reduction vat. Most plastic 5-gallon buckets are made of material that will withstand hot water, but if in doubt, check to make sure. You will also want a lid to cover the vat when it is not actively being used.
Metal tongs. A pair of tongs is useful for stirring and taking fabric out of a deep bucket. Use tongs dedicated to dyeing, and not used for food preparation.
Rubber gloves. Wear rubber gloves while handling fibers and working them in the woad vat. It is best to get the heavy-duty kind that are easy to slip on and off, not the thin latex ones.
A mesh basket or wire frame. When leaving fibers in the vat for long dips, you will need to keep them from touching the sediment on the bottom. Some dyers like to use a mesh laundry basket suspended over the vat; other dyers put an upside-down pasta strainer at the bottom of the bucket. A “grit guard” (sold in the automotive section of big box stores) works especially well with 5-gallon buckets.
Thermometer. To check the temperature of the water when building the vat.
Scale. To weigh out the ingredients.
Two plastic or glass cups. To weight out the ingredients.
PH strips. Optional, but can assist in troubleshooting a vat.
Fructose sugar. The reduction agent in organic vats. Other types of sugar like table sugar are not a substitute.
Calcium hydroxide. The alkaline agent in some vats. Also known as pickling lime or cal.
Soda ash. Sodium carbonate, or washing soda. Used to scour (clean) cotton and linen before dyeing.
Distilled white vinegar. Used to help clean the fibers after dyeing.
Vat Recipe
4. The 1-2-3 Fructose Vat
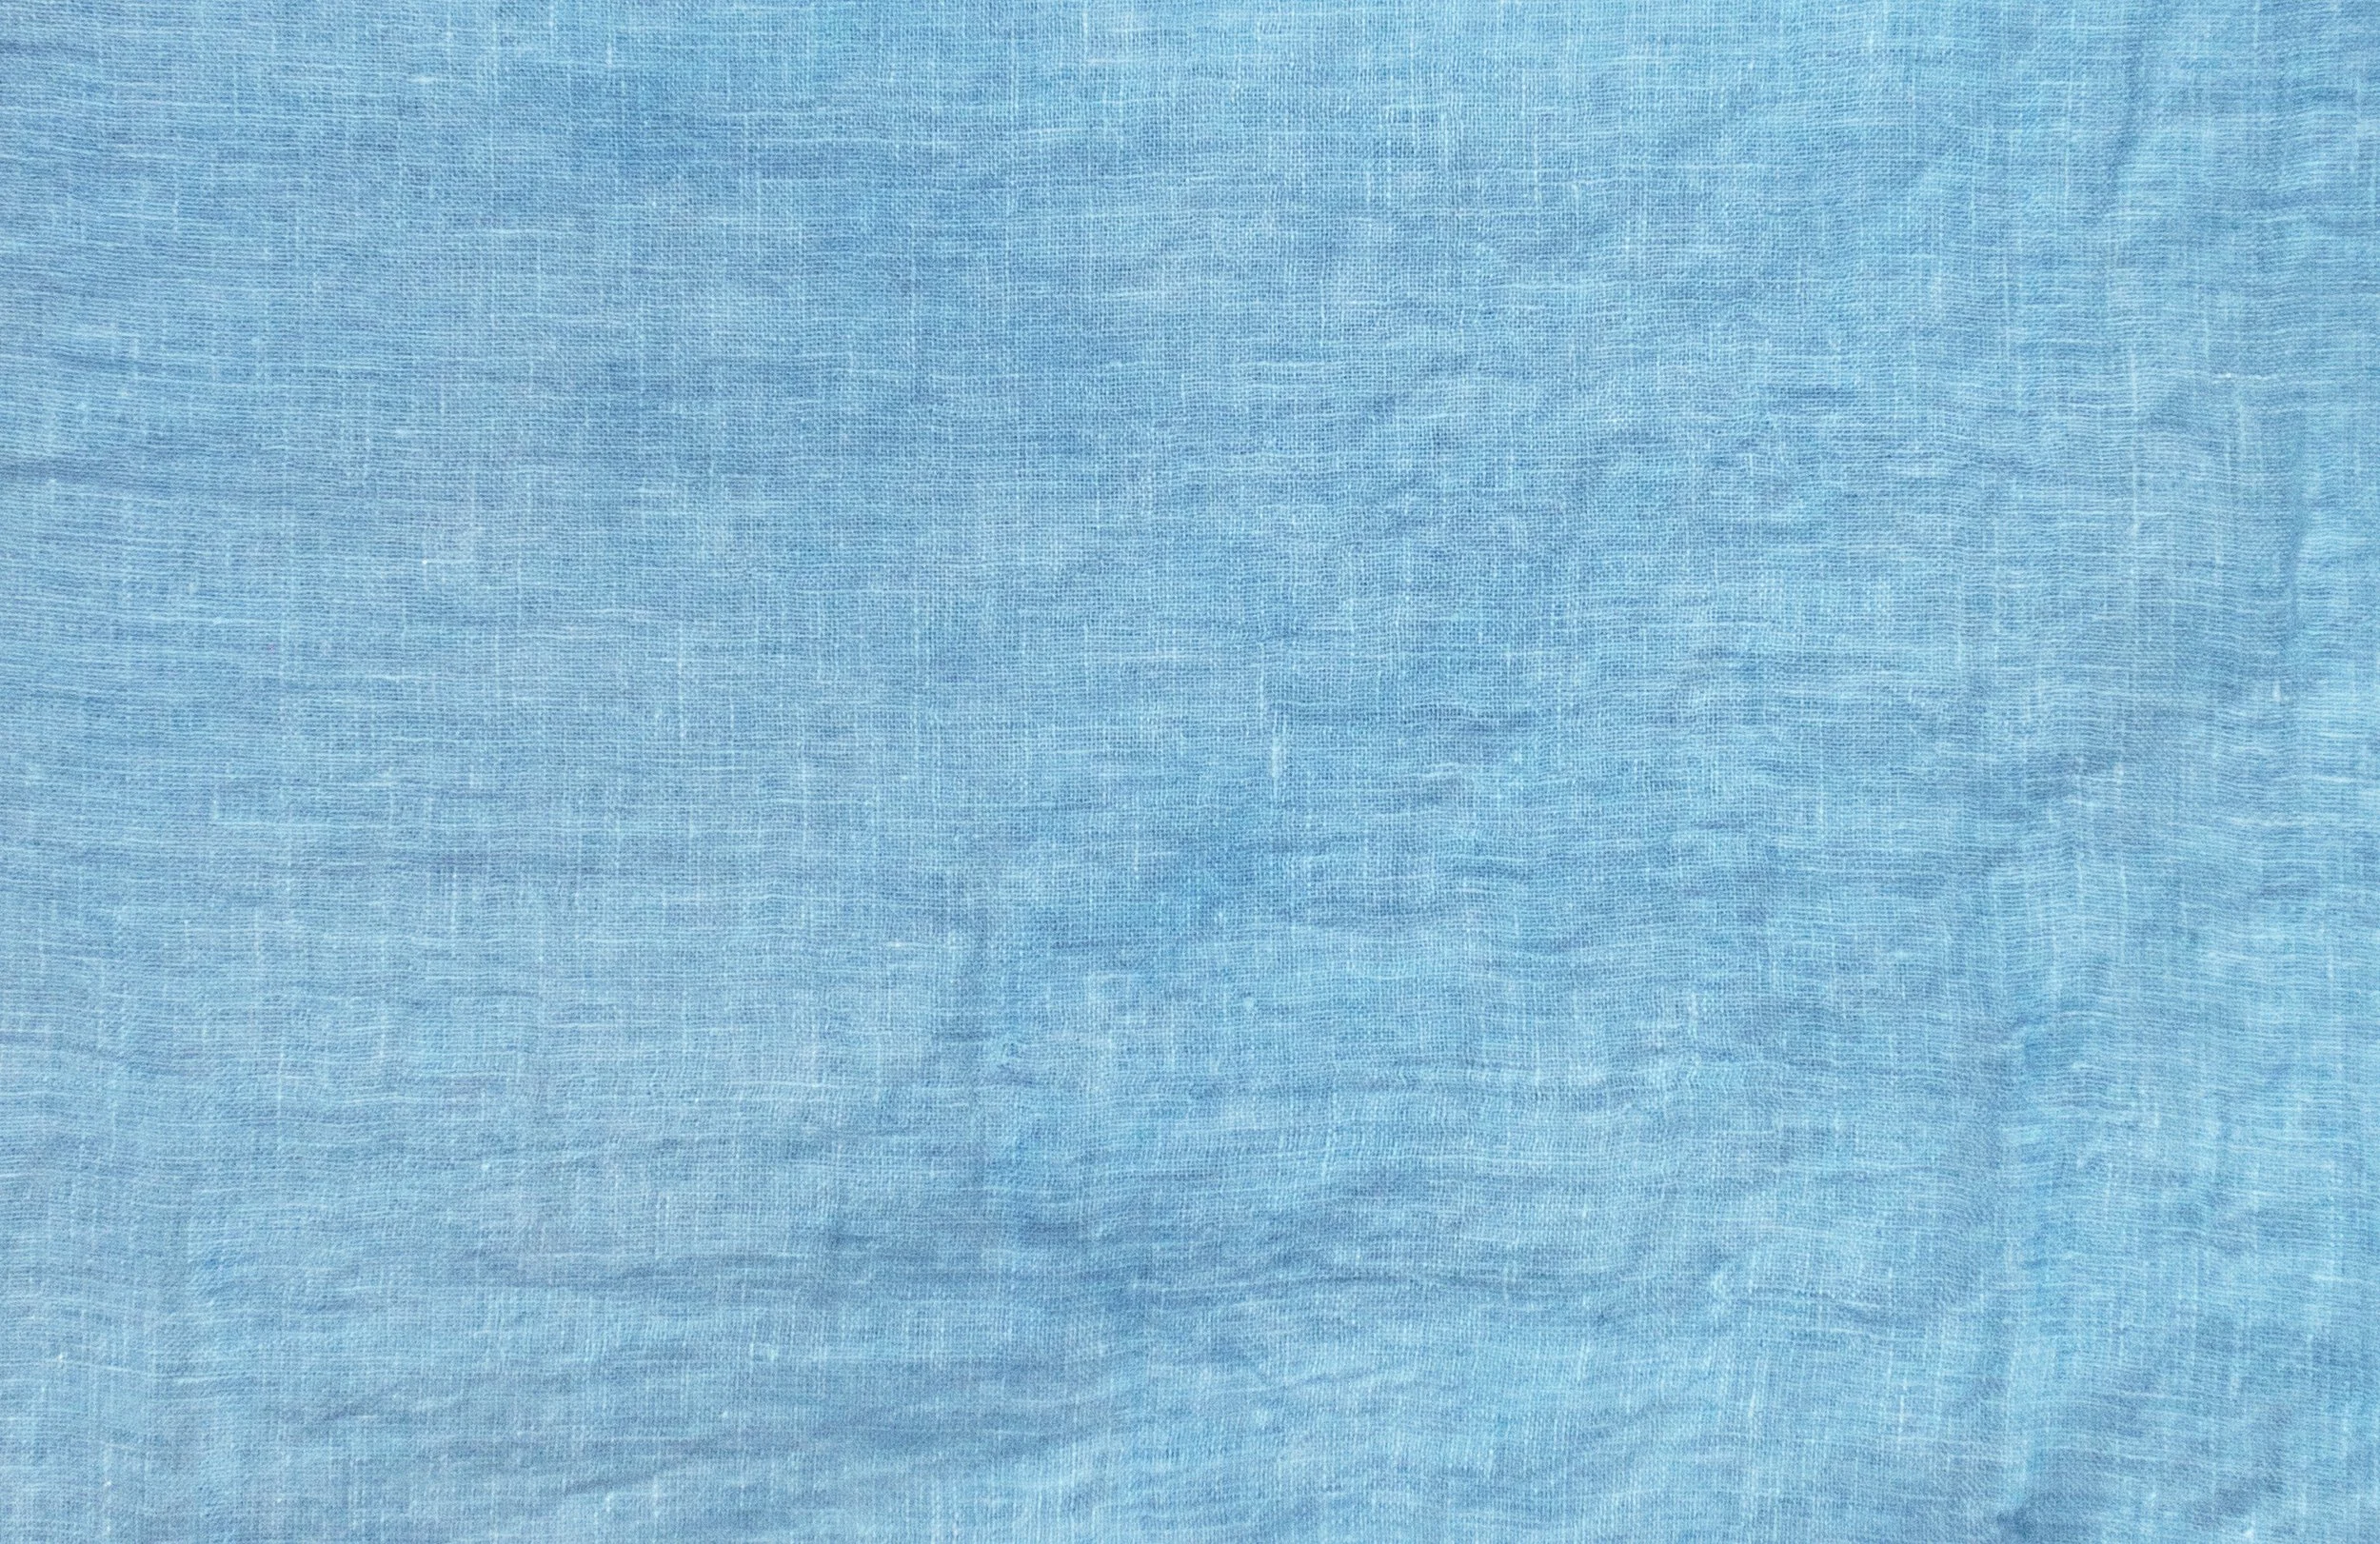
The 1-2-3 Fructose Vat, originally developed by Michael Garcia, is very popular with natural dyers because it uses fruit sugar as the reducing agent rather than industrial chemicals like hydrosulfite. Although originally intended for indigo, it can be used with equal success to reduce woad. A 1-2-3 Fructose Vat is simple to build and the vat will usually reduce and be ready for dyeing in an hour or two. A fructose-based vat can be used to dye any natural fiber, but it is especially well-suited for plant fibers like cotton and linen. The large quantity of calcium hydroxide used in this style of vat can be a bit rough on woolen fibers, although if they are treated carefully they will remain soft. Note that a vinegar soak after dyeing with this style of vat is very important to bring out the finest shades of sky blue. The swatches below were dyed in a fructose vat made with 50 grams of Woad Extract.
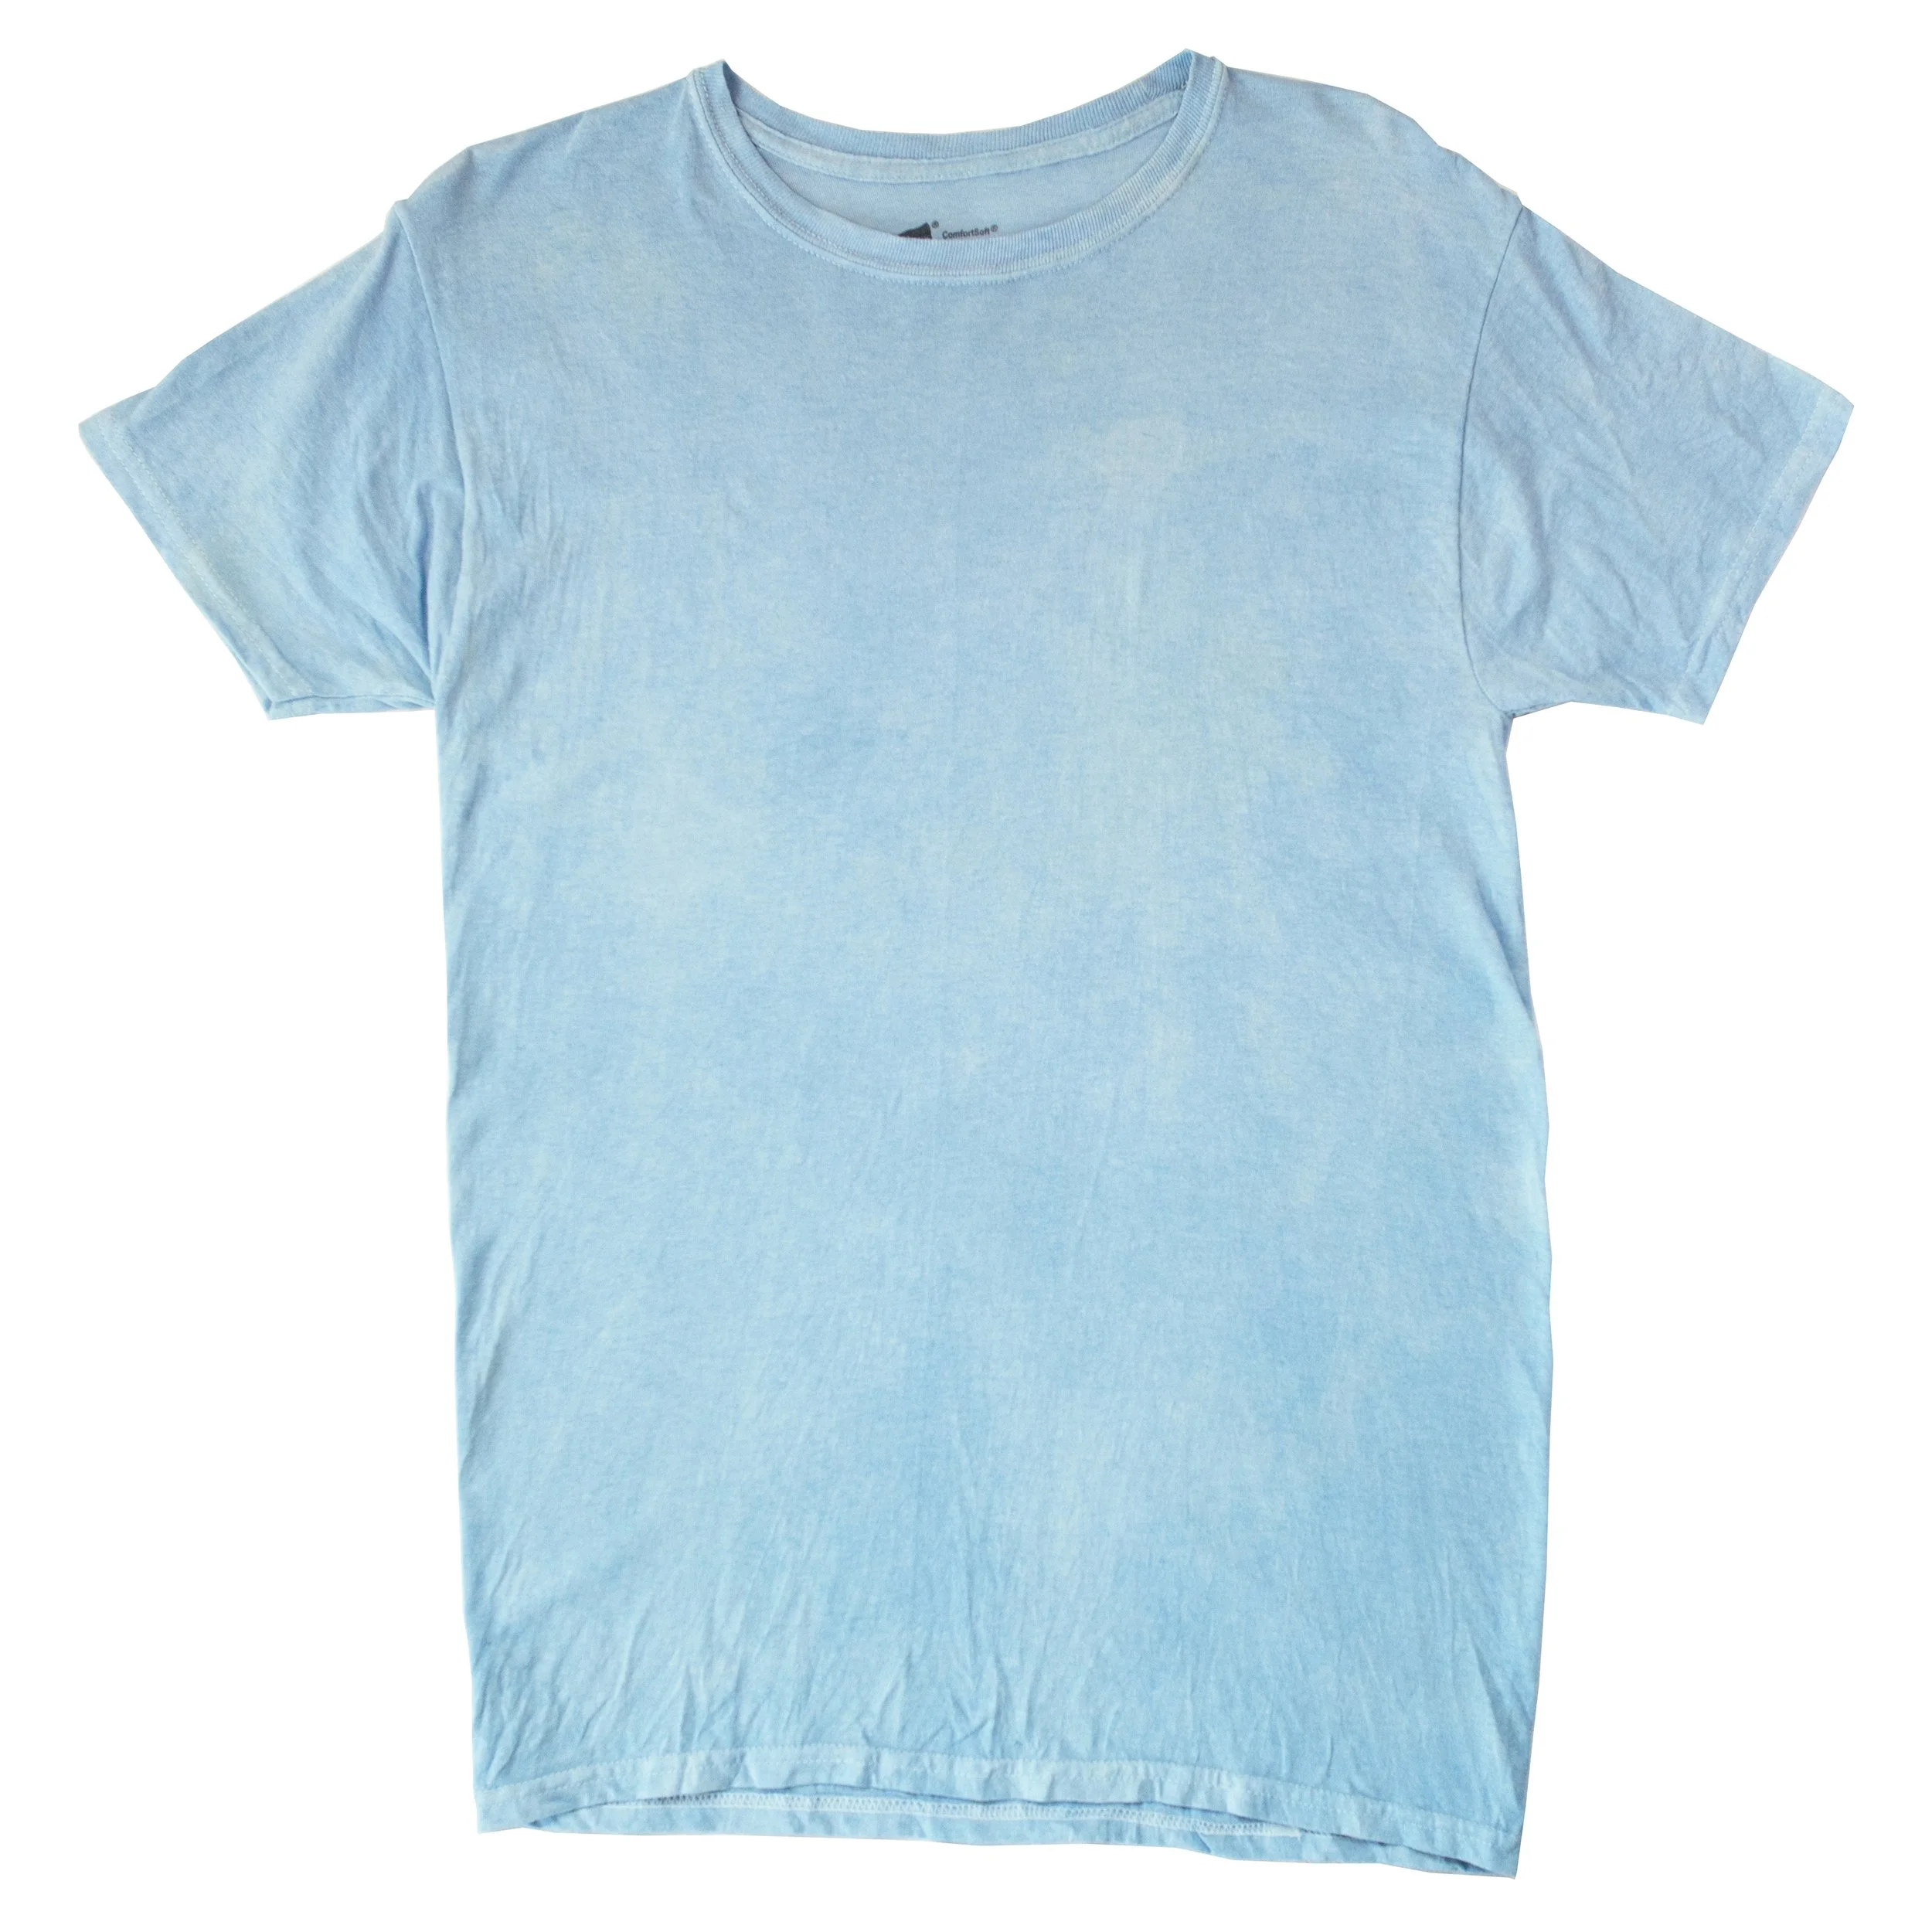
Cotton, two 20-minute dips
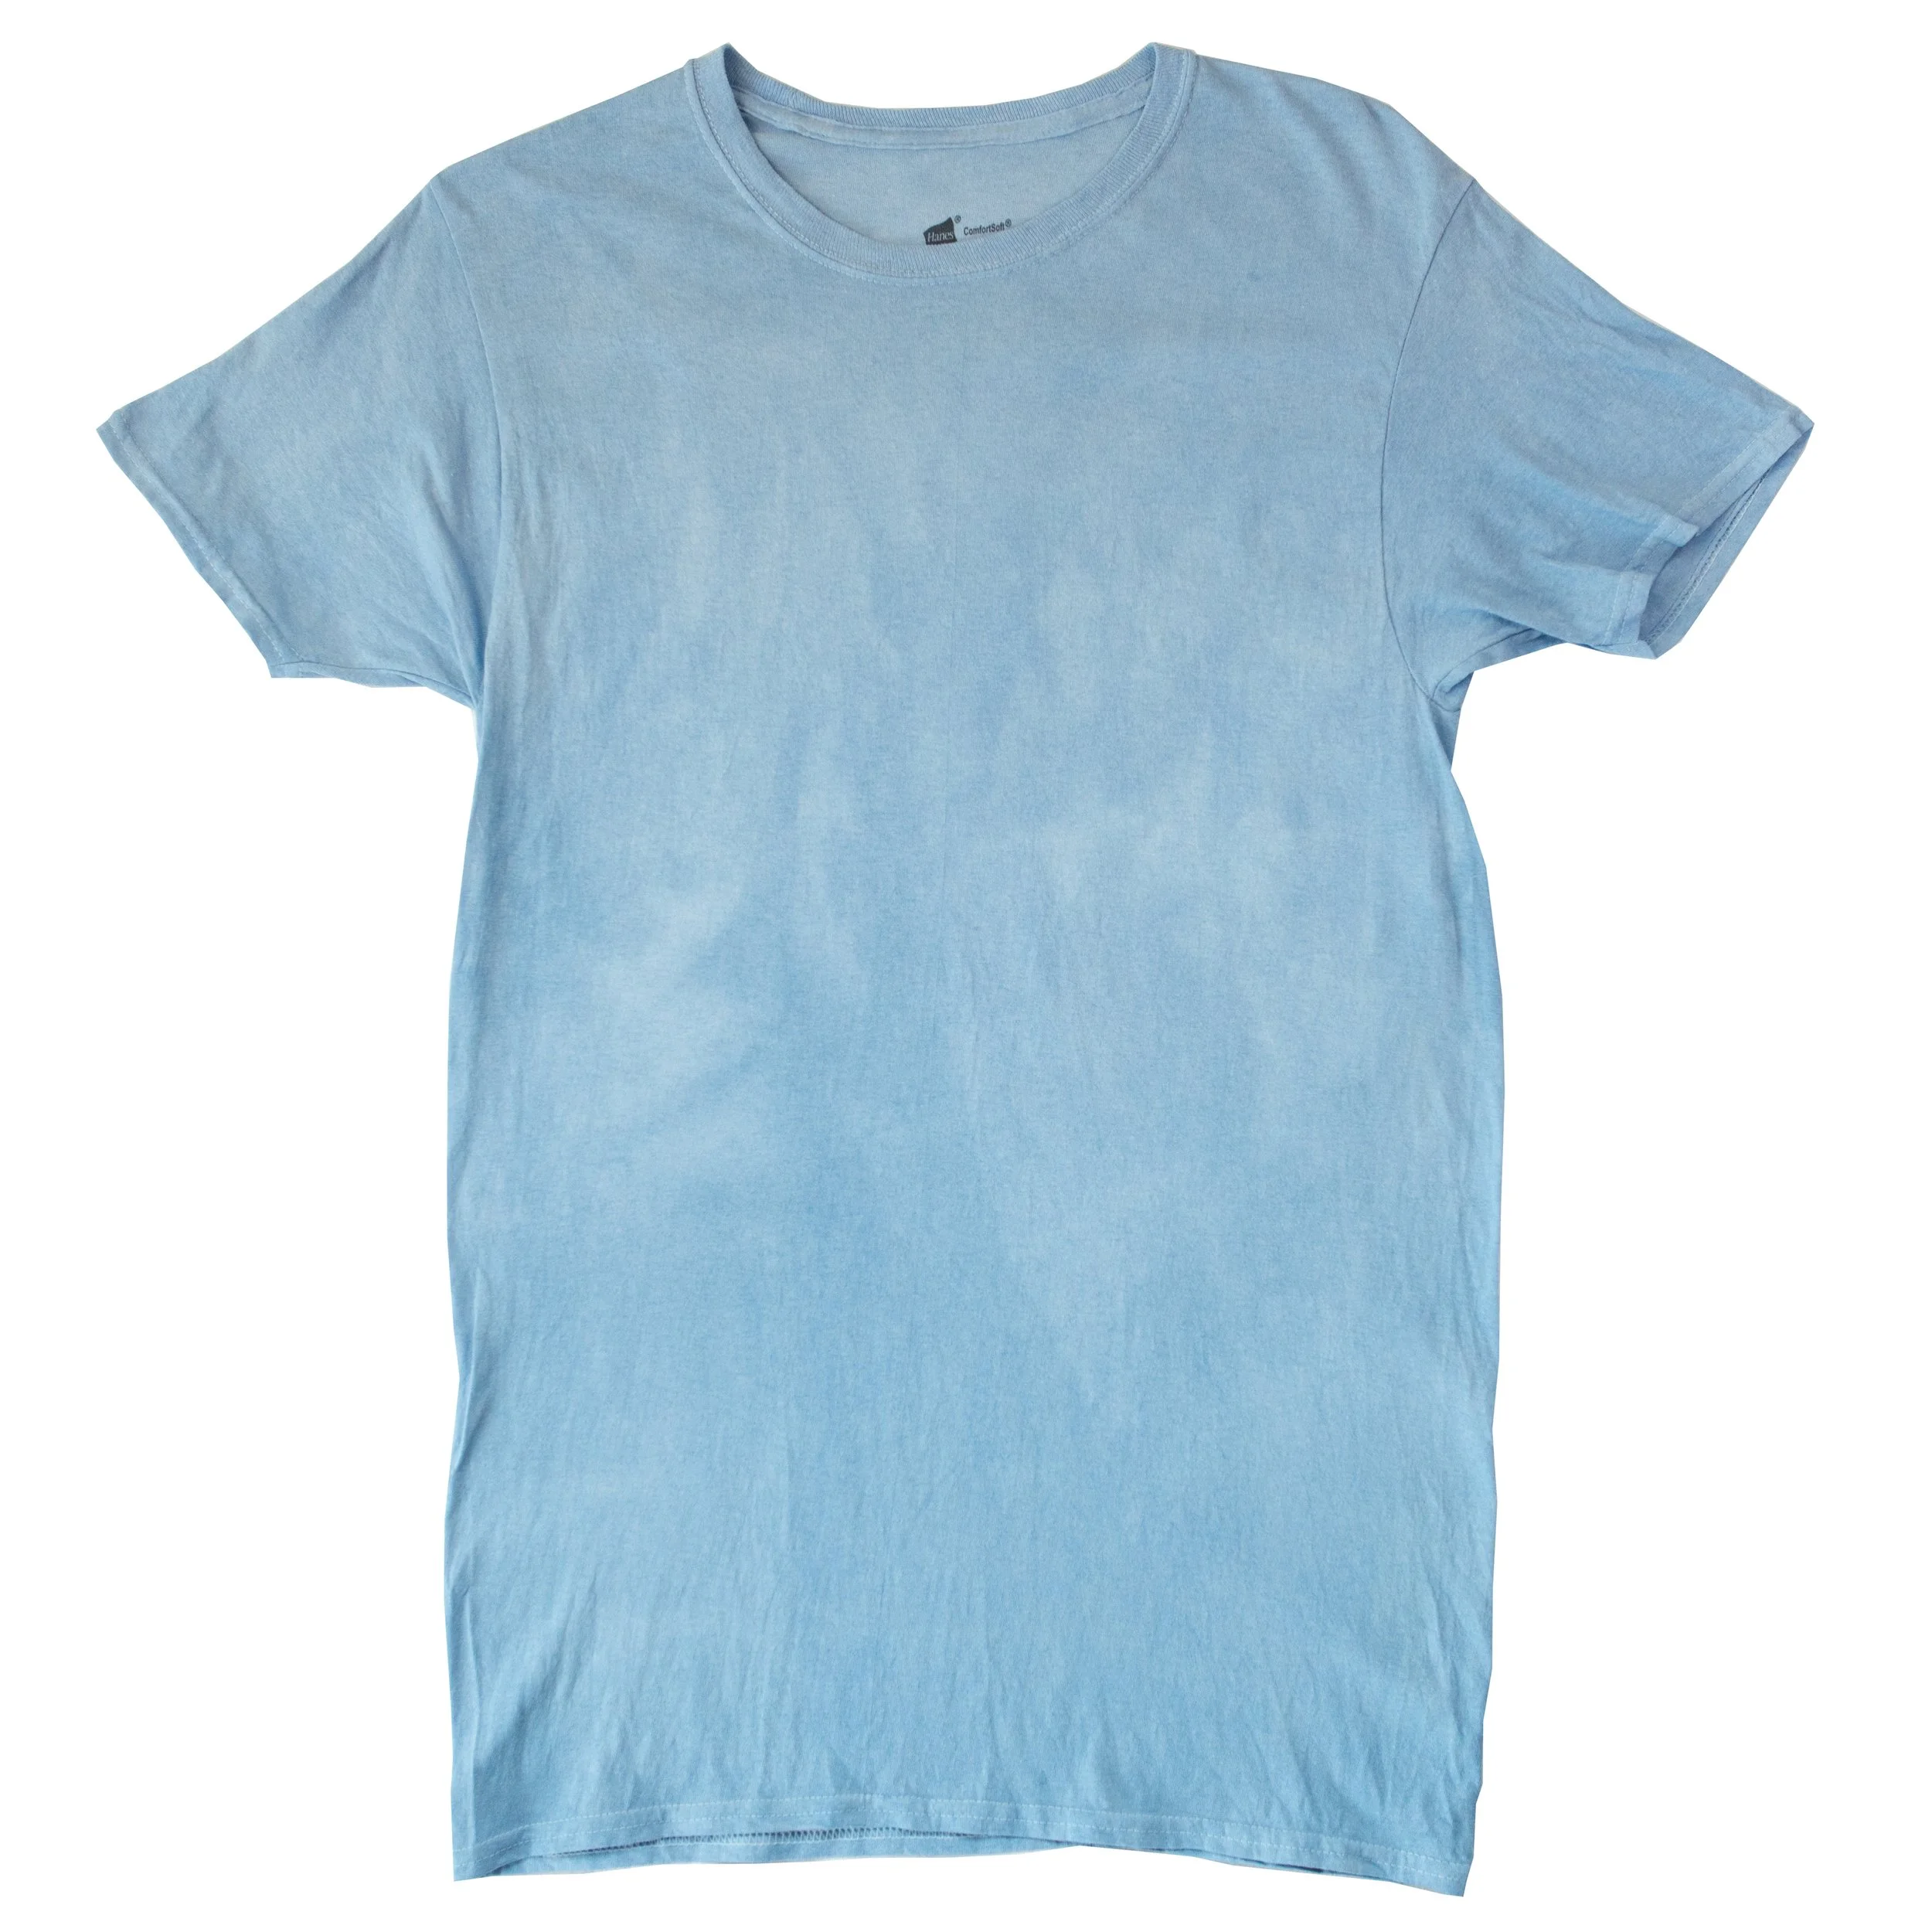
Cotton, three 20-minute dips
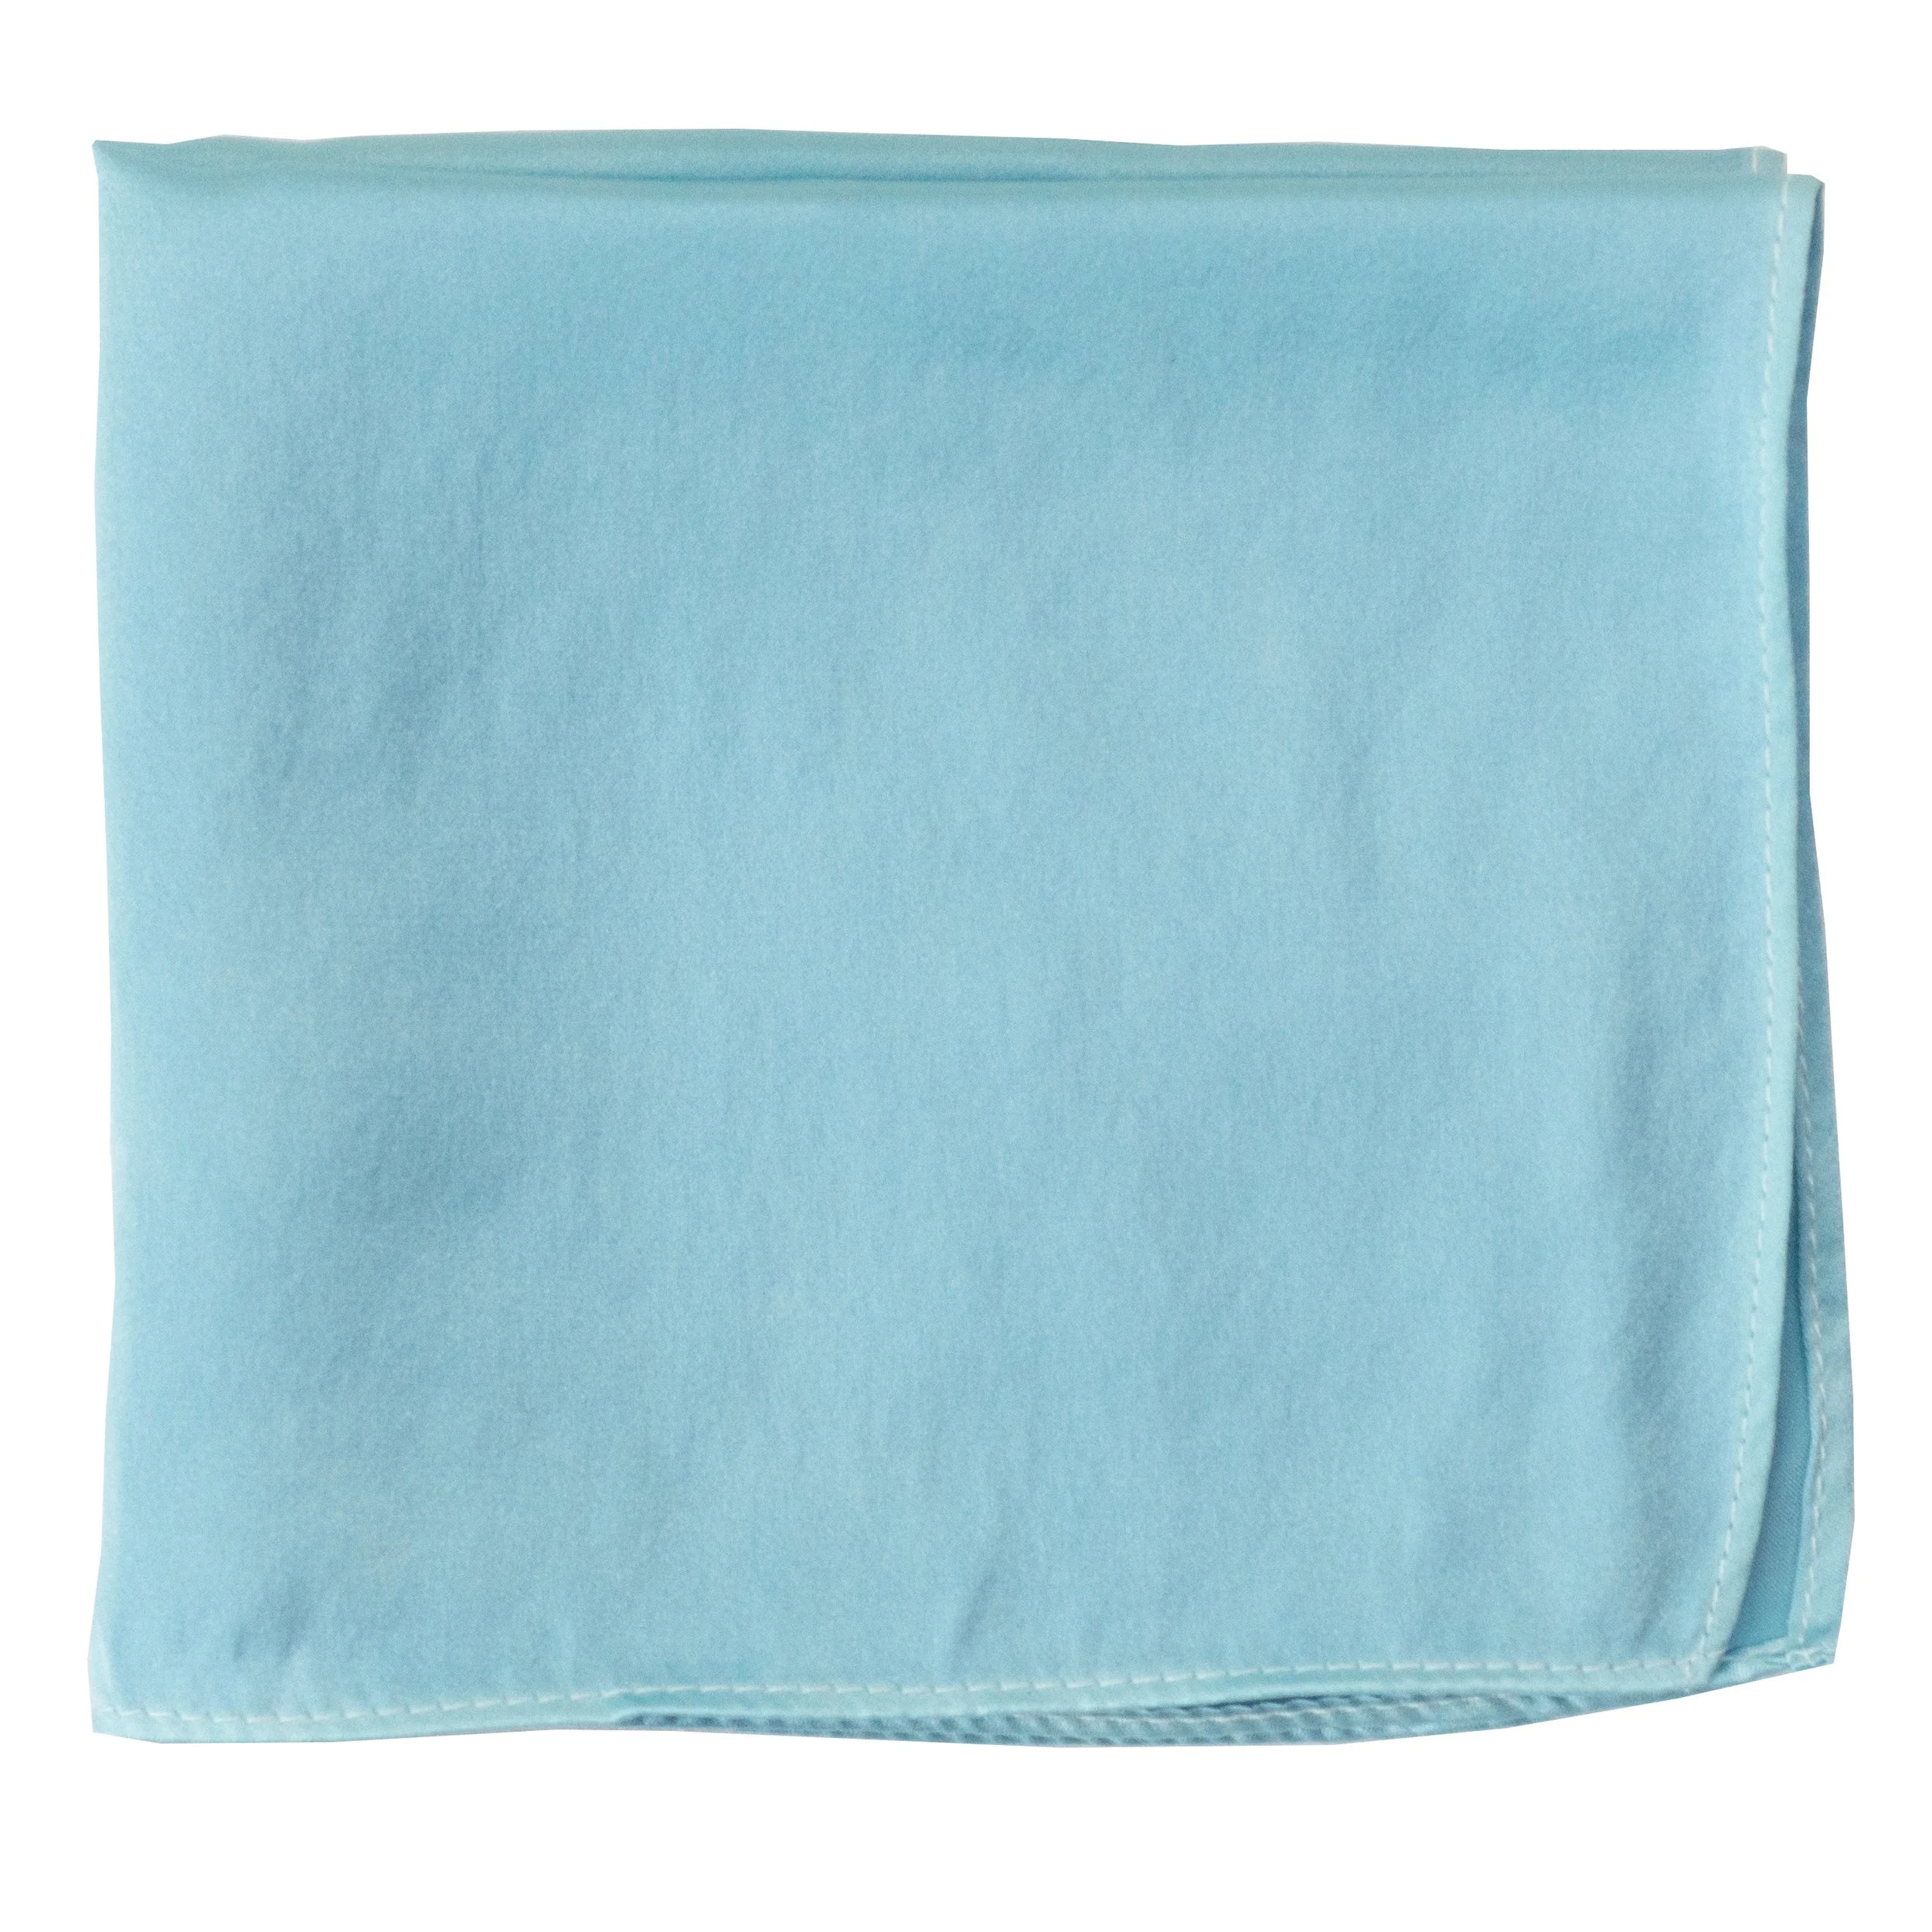
Silk satin, one 20-minute dip
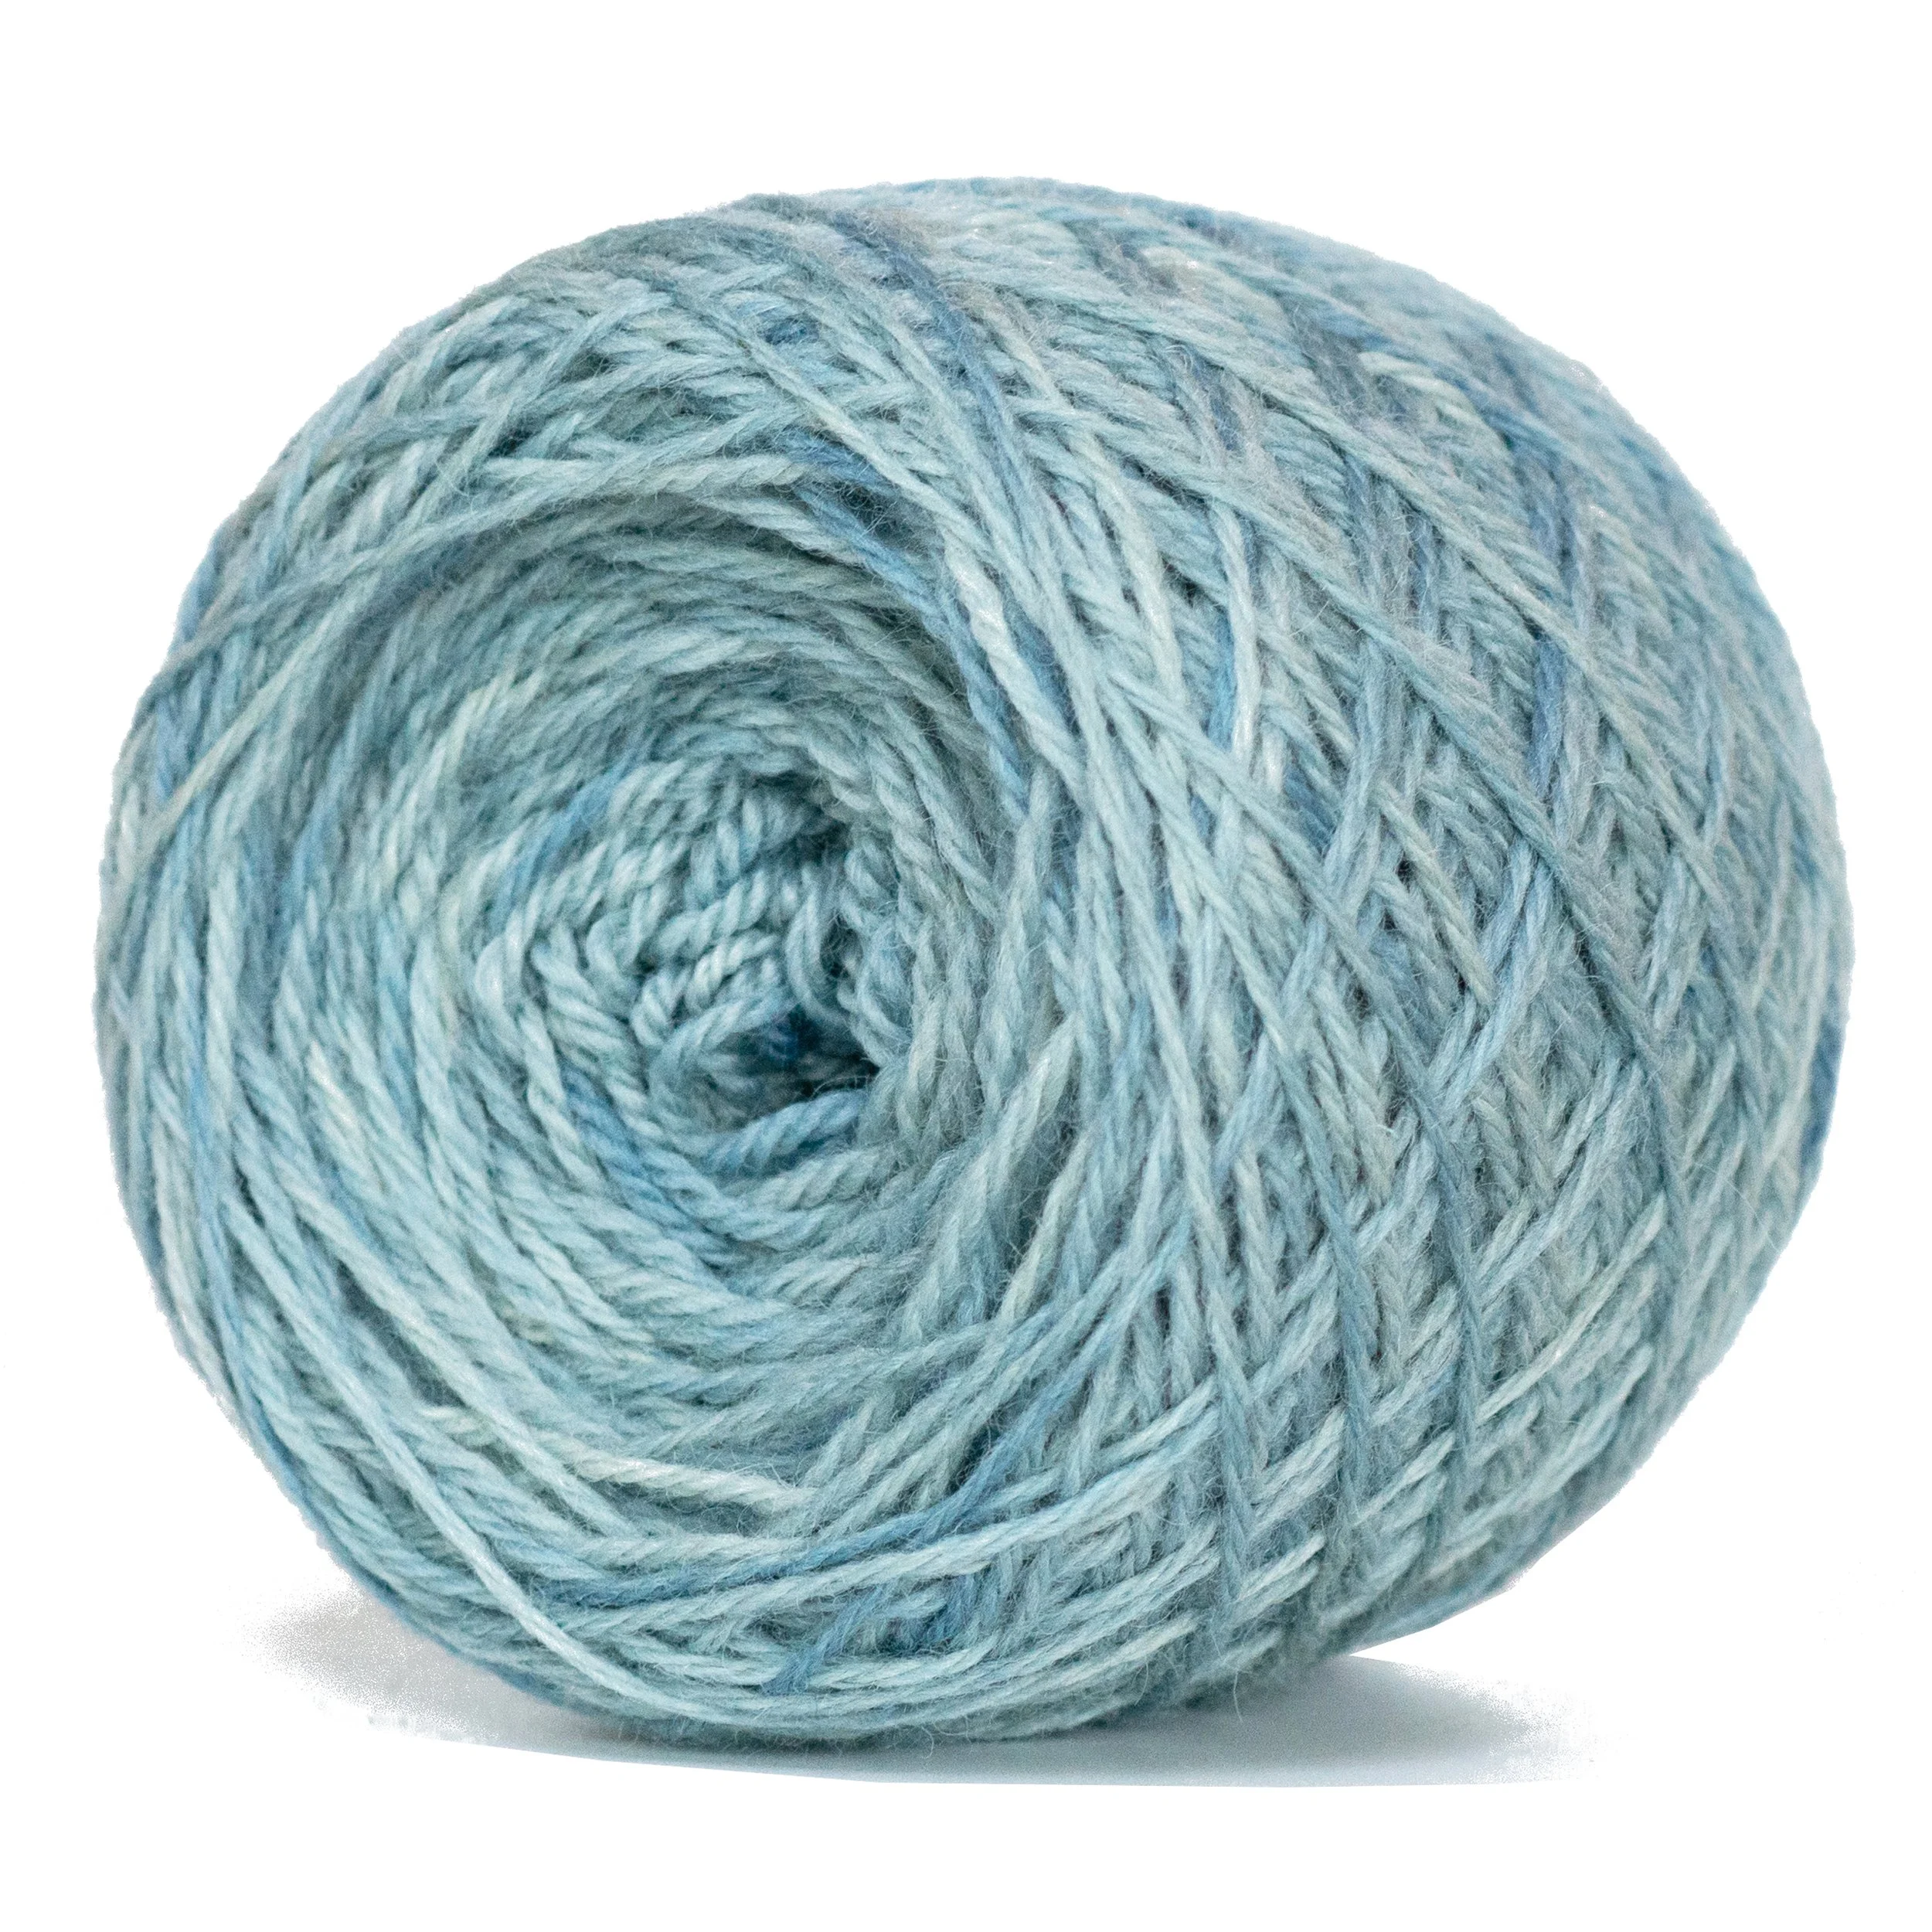
Wool, two 20-minute dips
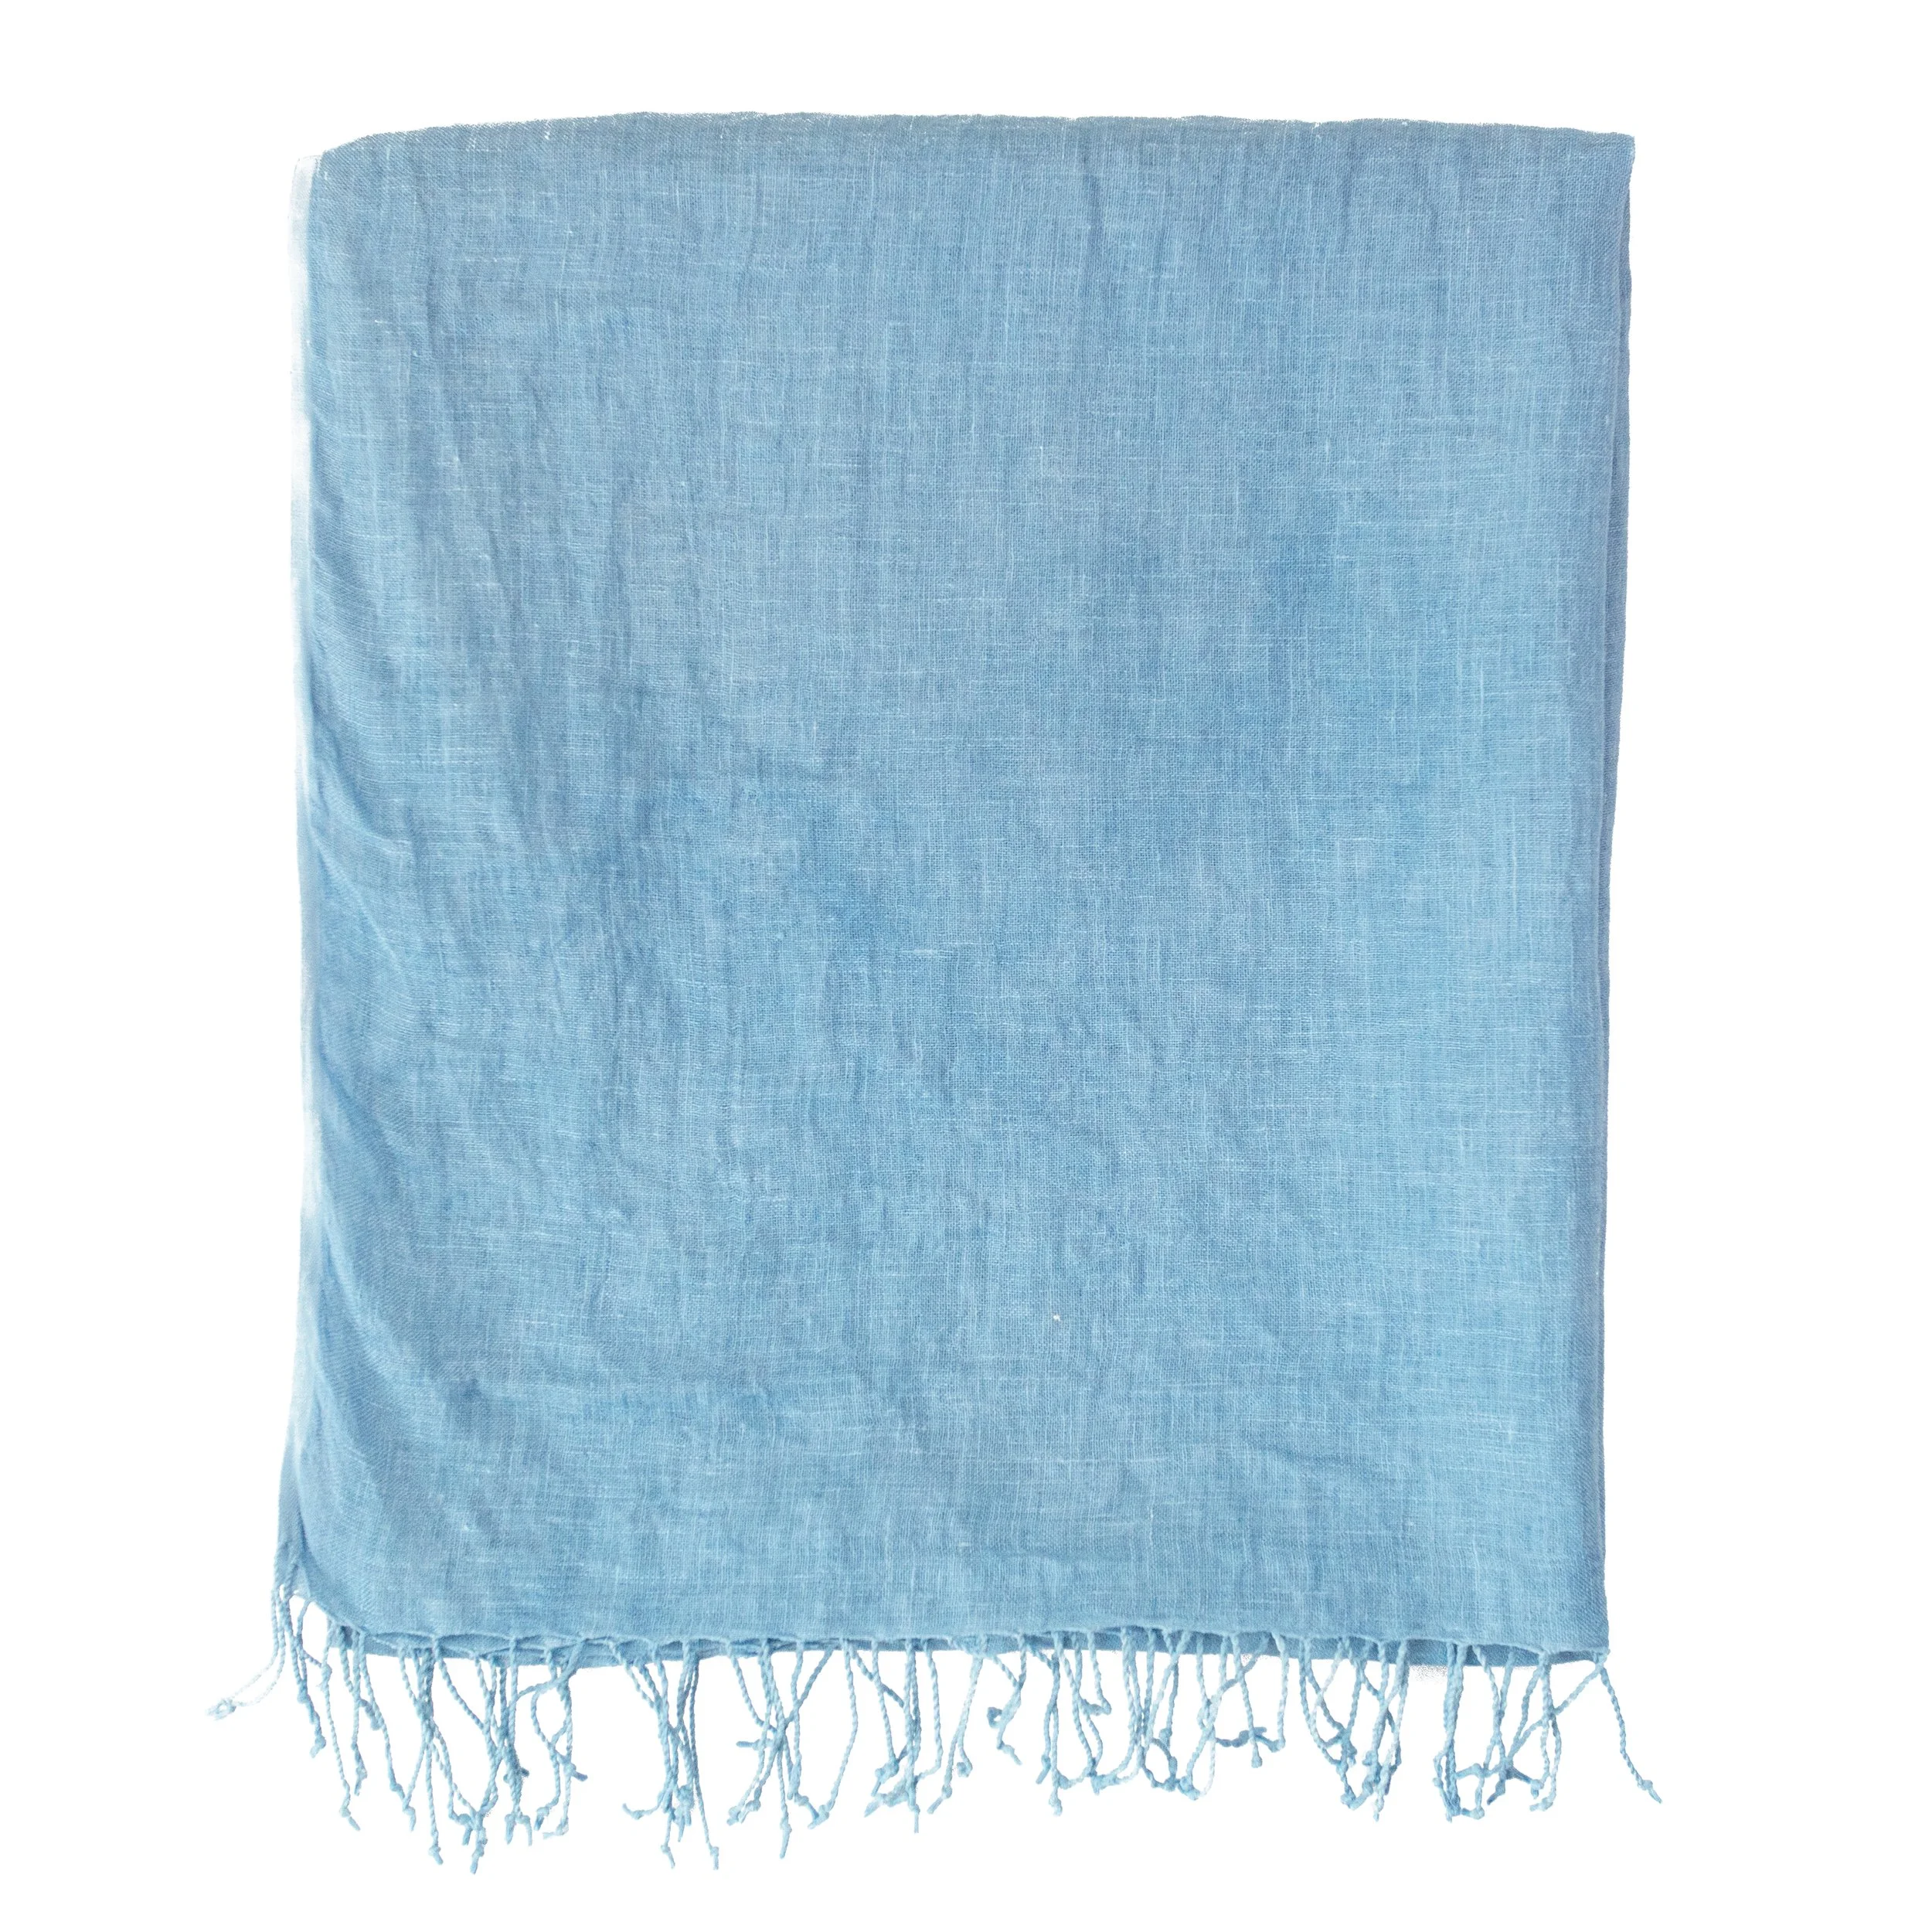
Linen, three 20-minute dips
Prepare the fibers to be dyed by scouring (cleaning) them well. Cotton and linen should be simmered in a dye pot for an hour with a little soda ash (about 1 gram of soda ash per pound of fiber), then rinsed well as soon as the fibers have cooled down enough to handle safely. Wool and silk should be heated to 160°F for an hour with a teaspoon of pH-neutral detergent like Synthrapol, then rinsed well in warm water as soon as they have cooled down enough to handle safely. The fibers should be clean and wetted through before being dyed in the woad vat.
Once the fibers are ready, measure out the vat ingredients. Use a ratio of 1 part Woad Extract, 2 parts calcium hydroxide, and 3 parts fructose sugar. For example, for a vat made with 50 grams of Woad Extract, you will need to weigh out 100 grams of calcium hydroxide and 150 grams of fructose sugar.
Dissolve the fructose sugar in a glass or plastic measuring cup with some warm water; it will work much more efficiently if it is dissolved before it is added to the vat. In a separate glass or plastic measuring cup, blend the Woad Extract with a cup or so of warm water. The woad will not dissolve, but wetting it into a thin paste will help it disperse in the vat and reduce more quickly.
Prepare the vat: Heat 1 gallon of soft or distilled water to 130°F. Gently pour into an empty 5-gallon bucket, avoiding too much splashing.
Sprinkle the calcium hydroxide onto the water, stirring gently to break up any clumps. Continue stirring for two or three minutes to make sure the calcium hydroxide is fully and evenly dispersed. Once you stop stirring it will begin to settle, which is fine — calcium hydroxide does not really dissolve in water, but mostly just disperses in it.
Heat another 3 gallons of water to 130°F and pour into the bucket.
Stir the water in the bucket gently in a clockwise or counterclockwise direction to create a vortex, being careful not to splash the water or introduce air bubbles. Gently pour in the dissolved fructose sugar. Pour it in as close to the surface of the water as possible, to reduce air contact. Stir for another minute or so to fully incorporate the fructose.
Next, add the Woad Extract: Stir the water in the bucket gently in a clockwise or counterclockwise direction to create a vortex, being careful not to splash the water or introduce air bubbles. Gently pour in the wetted Woad Extract paste. Continue stirring gently until the woad is fully mixed into the vat and the liquid has a uniform greenish color.
Cover the vat loosely with a lid and wait 30 minutes for the vat to begin to reduce.
After 30 minutes, check the vat. It should have begun to reduce, and the liquid should be turning a yellow or olive green shade. At this point, the vat will very likely need a good stir to incorporate anything that has settled on the bottom. Using long tongs or a similar tool, stir the water in the bucket gently in a clockwise or counterclockwise direction to create a vortex, being careful not to splash the water or introduce air bubbles. If this causes the vat to turn a dark green or blue shade again, it means woad that settled on the bottom is being reincorporated into the vat. Cover the vat again and wait another hour for it to reduce.
After an hour, the vat should be reduced. The surface should have a dark coppery sheen, and there may be a small “flower” in the center (bubbles colored blue from oxidized woad). Looking directly down into the vat it will like appear dark and opaque, but if you dip a spoon in it, the liquid in the spoon should be a clear dark yellow or brown color (there may also be a few blue or green flecks from the oxidized woad which rests on the surface of the vat). Once the liquid is clear, the vat is ready for dipping.
[Troubleshooting] Sometimes the vat liquid will appear dark yellow or brown but will not be transparent. Instead it may appear cloudy and full of little white particles, almost like a thick miso soup. If so, give the vat another good stir to reincorporate any ingredients that have settled on the bottom. Cover it and allow 30 more minutes to reduce. The white “miso soup” sediment floating in the vat is most likely a degradation product of fructose sugar, such as calcium fructate, which can form if the vat gets too hot. These compounds are inert and harmless, but should be avoided if possible, since they waste some of the reducing power of the fructose sugar.
5. Dipping
Woad is applied by dipping fibers into the reduction vat, letting them soak up the dissolved leuco-indigotin, and then taking them out and letting them oxidize until the leuco-indigotin turns blue again. Afterwards, this dipping and oxidizing process can be repeated as many times as necessary until the desired blue is achieved. Different dyers have different preferences for how long to dip the fibers — you may see recommendations for dips lasting anywhere from 3 minutes to 30 minutes or more. We have used 20-minute dips as an example. It is usually best to give every dyed piece at least 2 or 3 dips to ensure an even color. One of woad’s advantages over indigo is that woad makes it easier to get fully saturated light blues. Two or three dips in an indigo vat can easily push the color of a dyed piece to very dark blues, whereas a piece can be dipped 2 or 3 times in a woad vat and still come out a nice sky blue or ice blue shade.
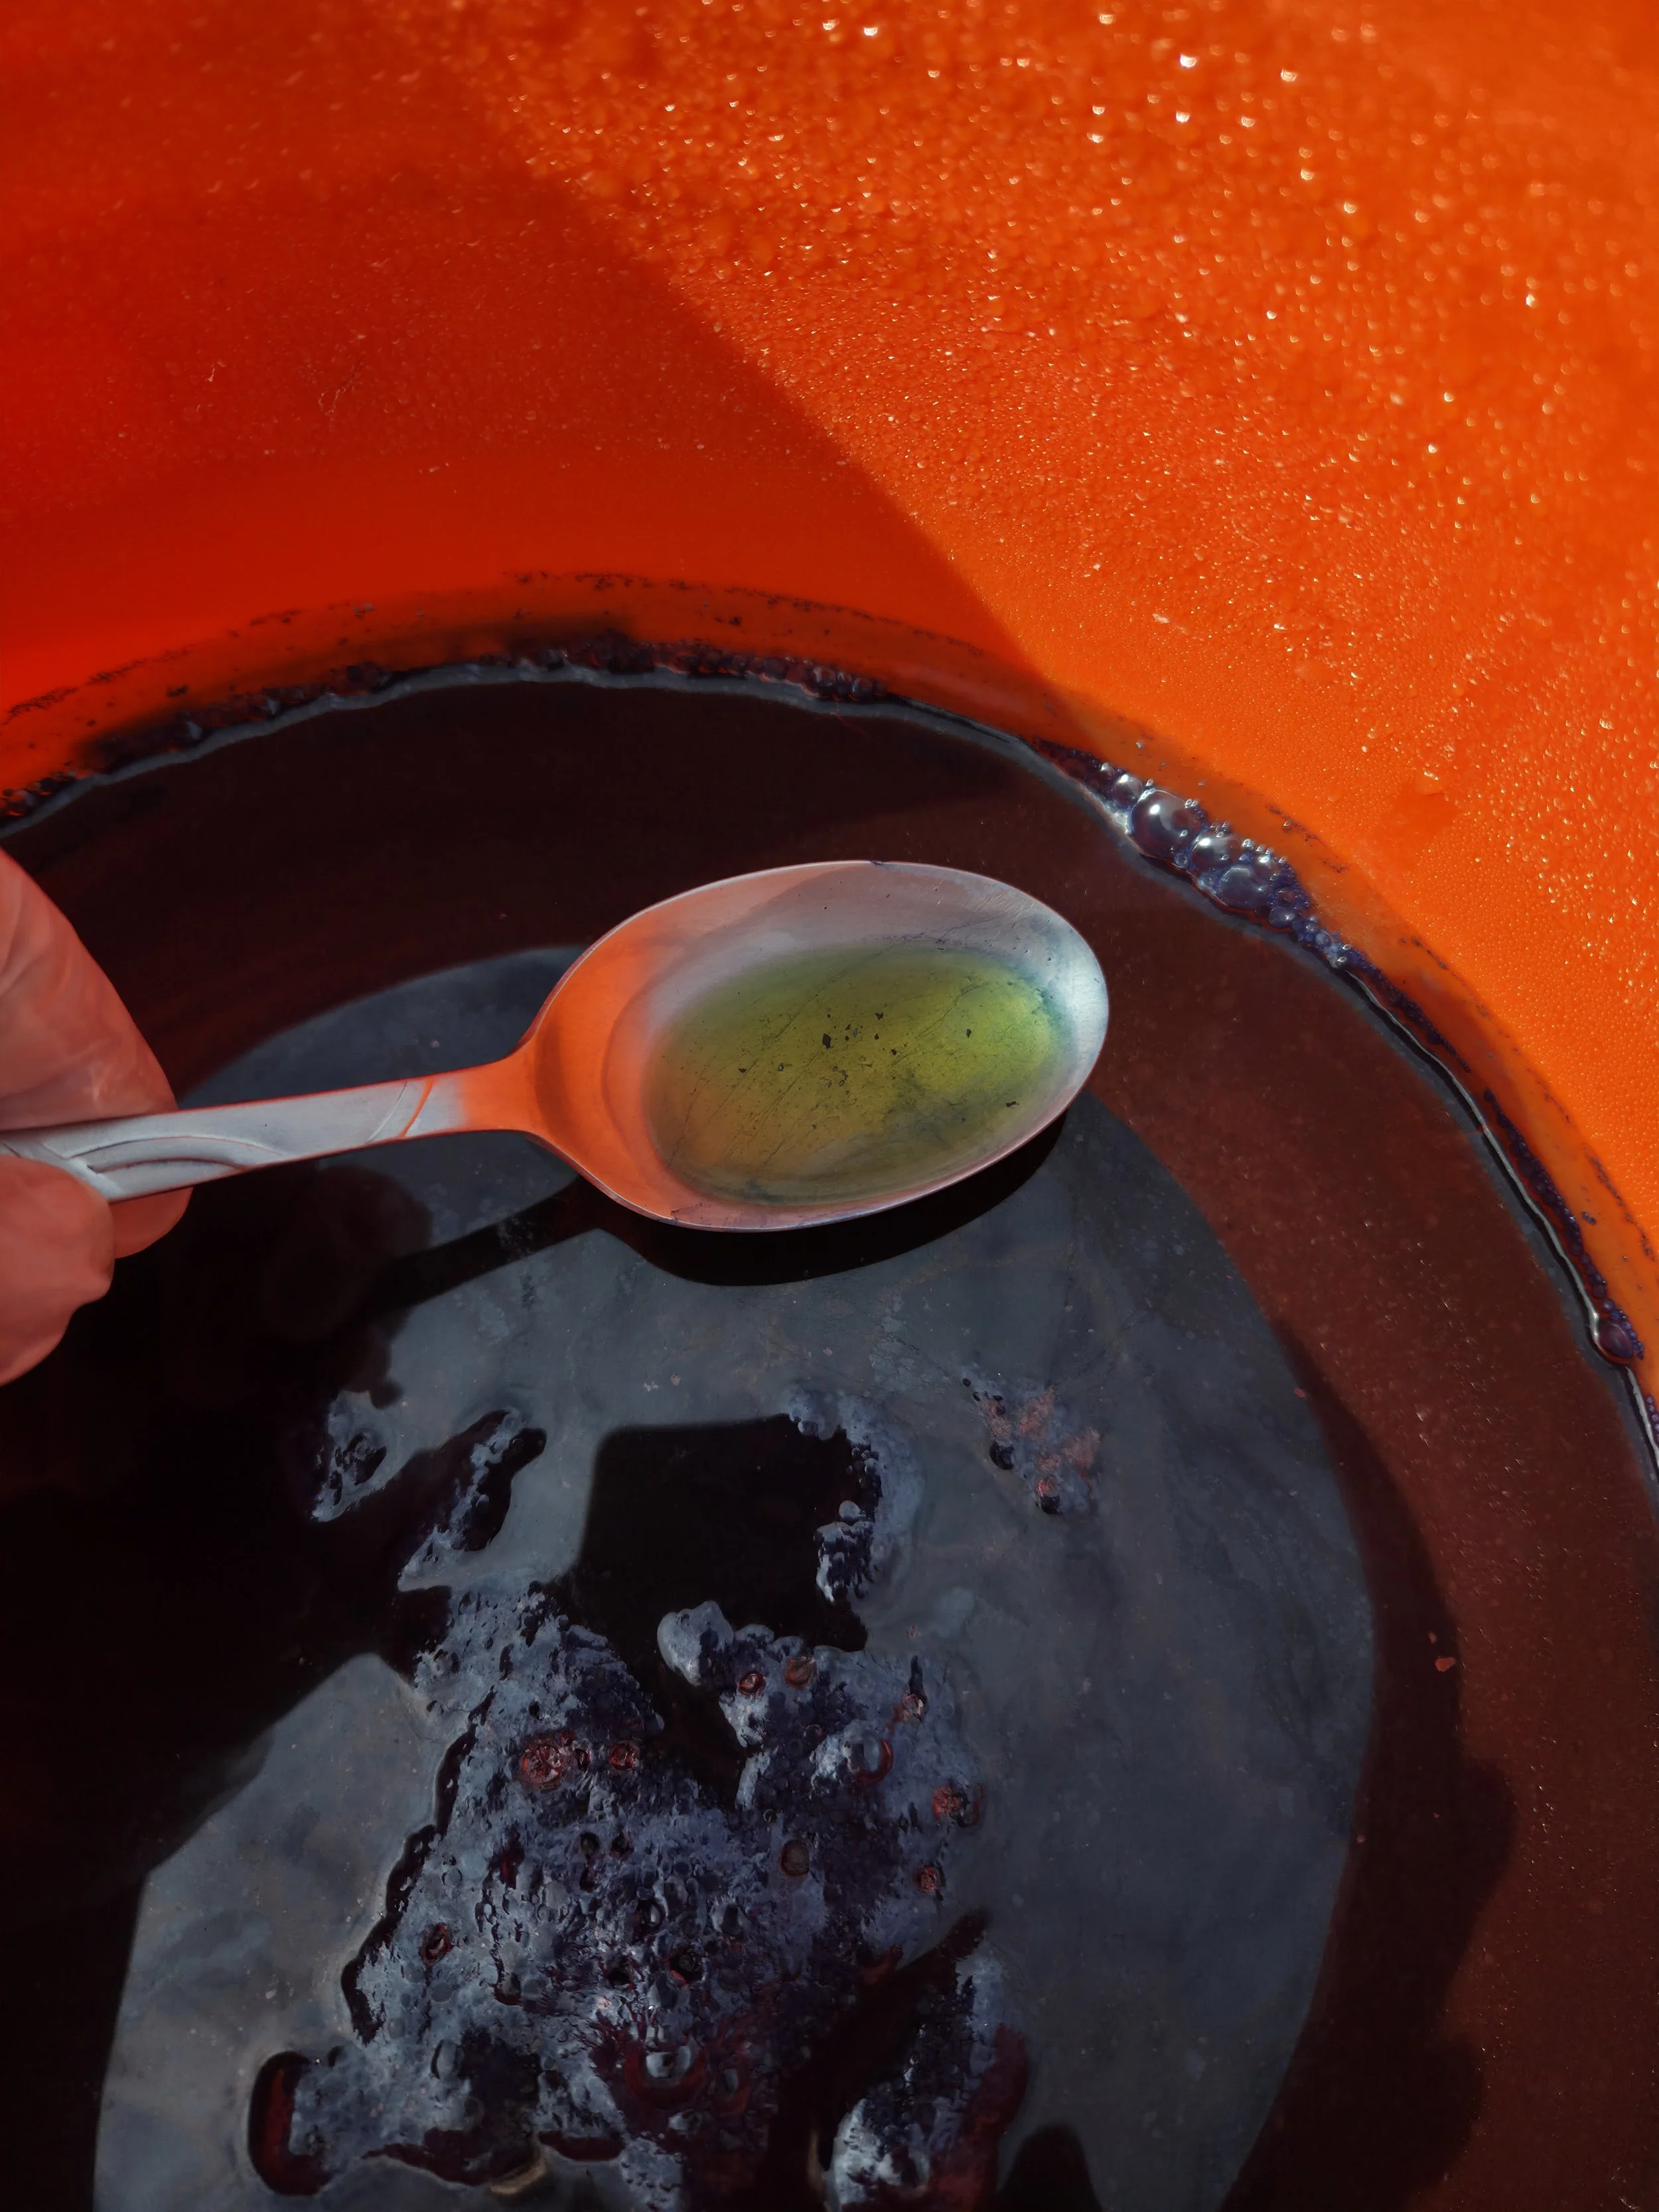
When the liquid in the vat is a dark yellow or amber color, the vat is reduced and ready for dyeing.
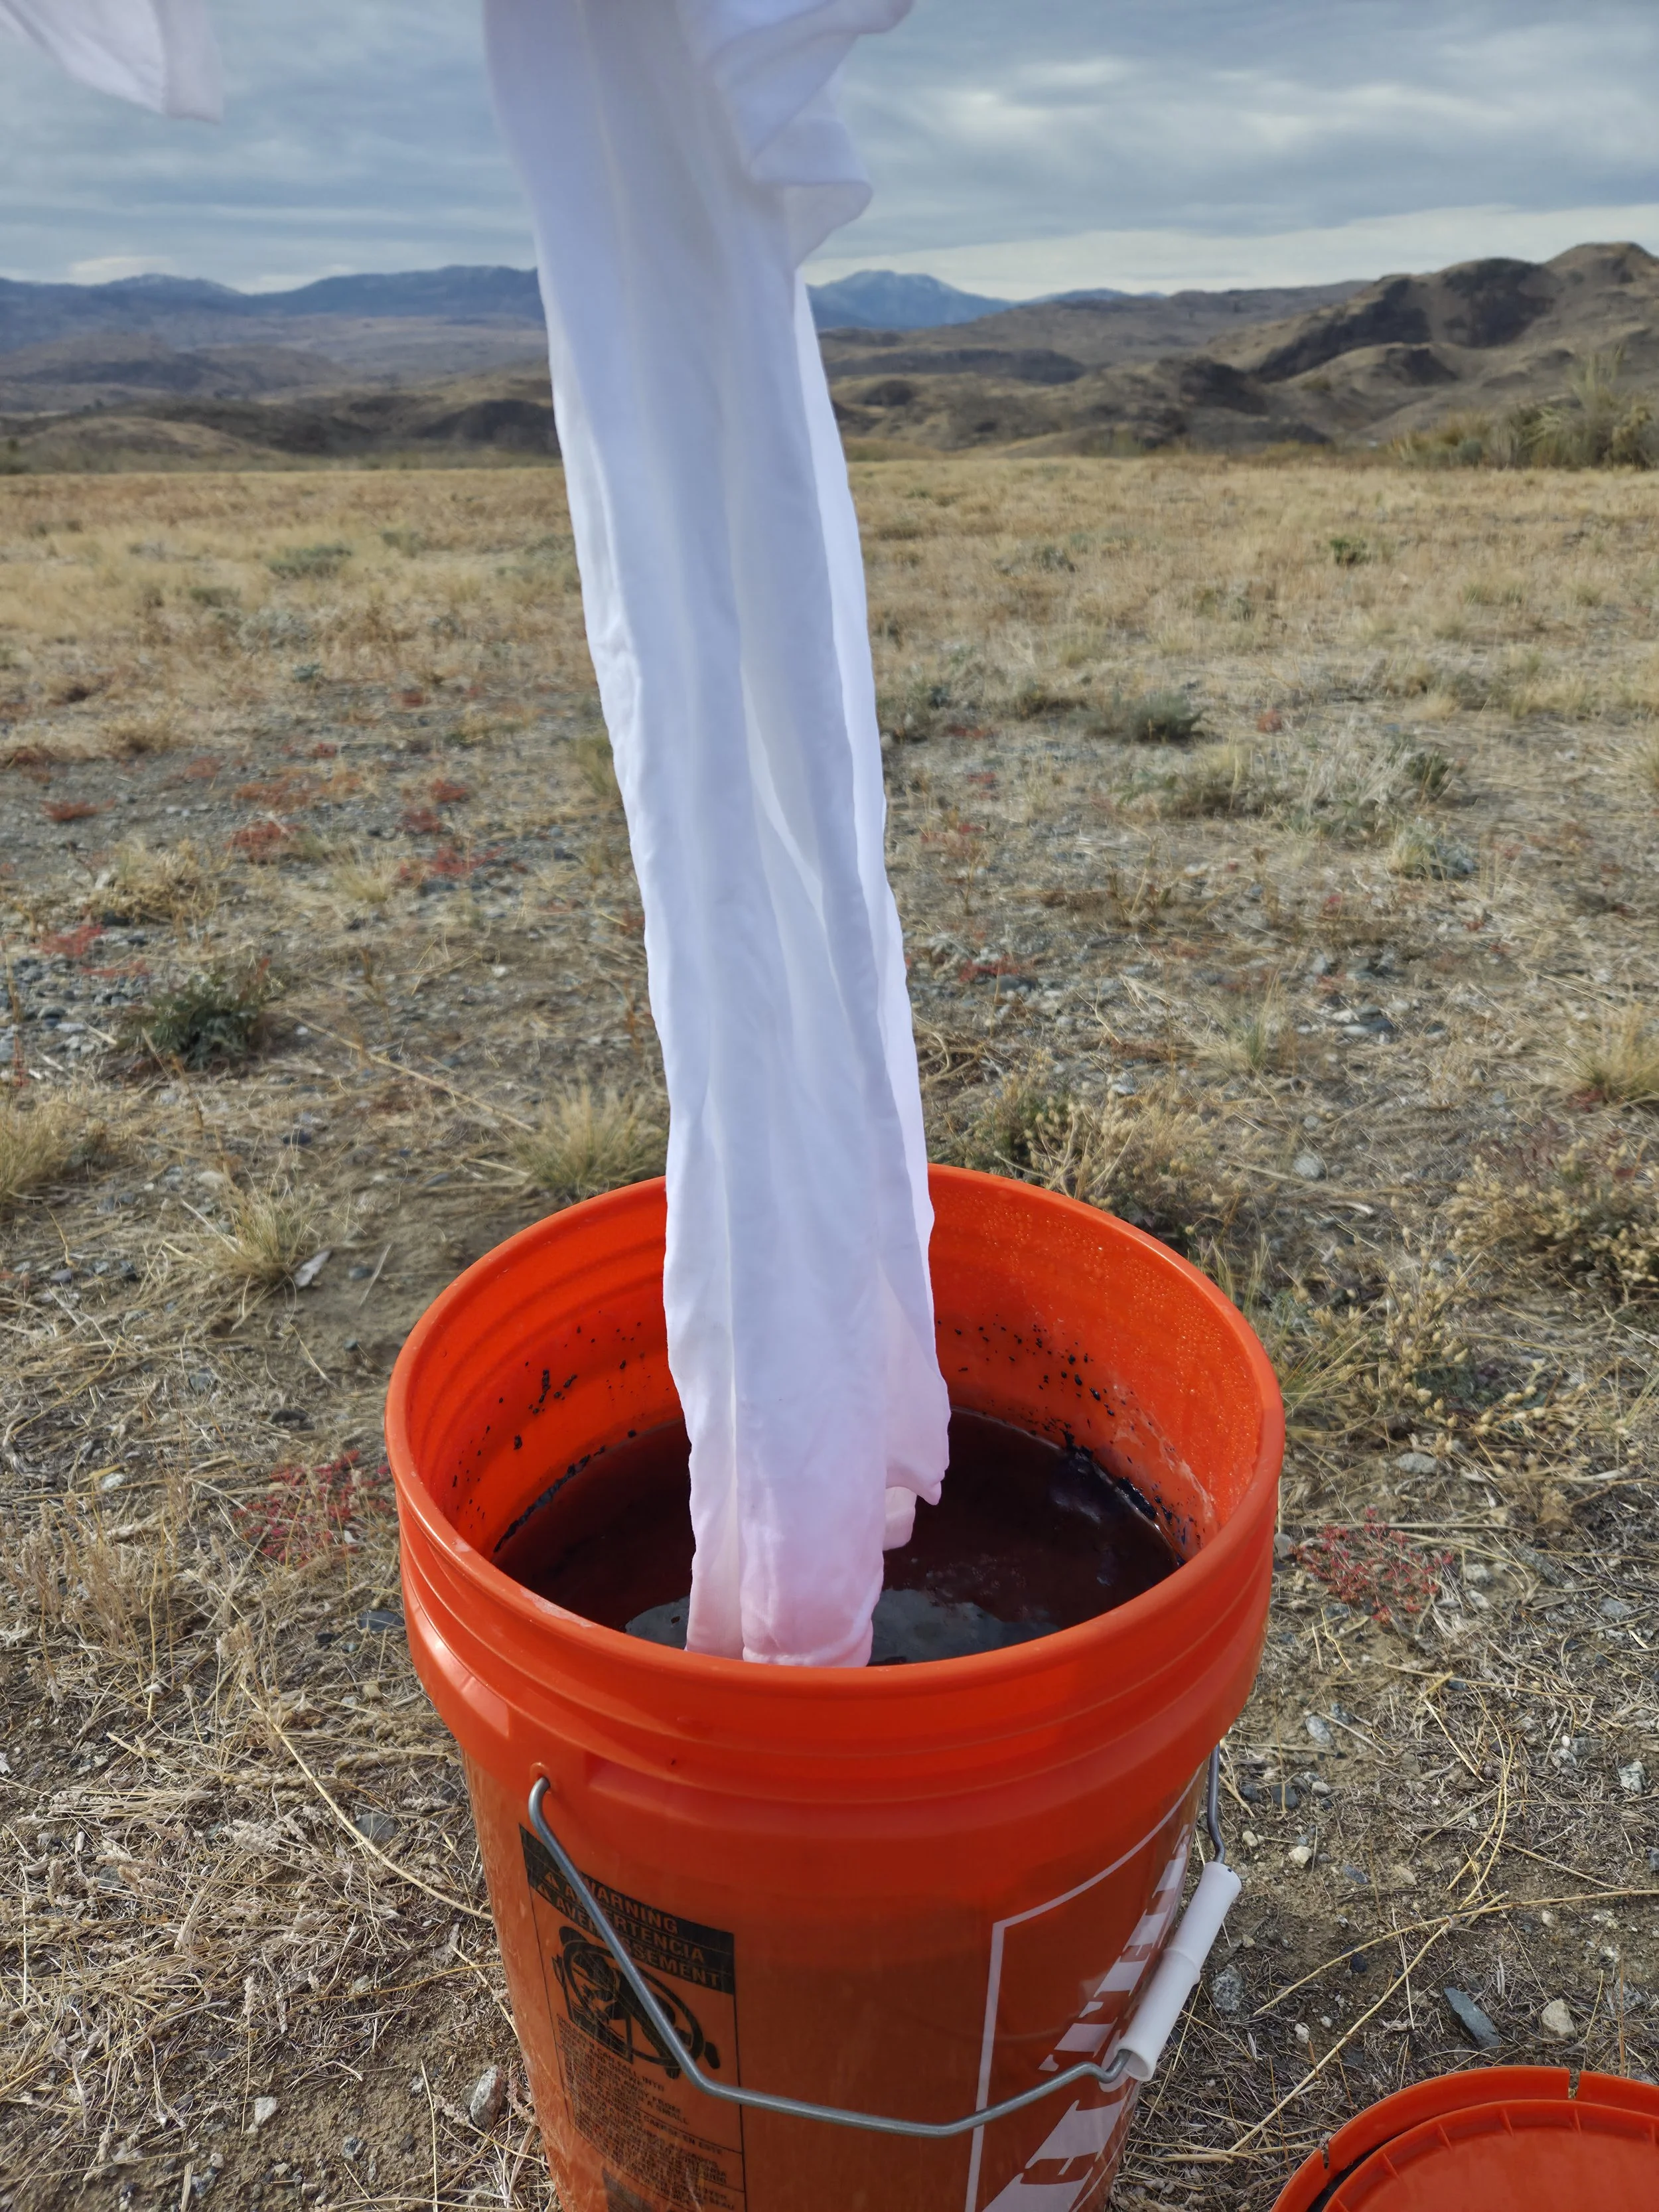
Gently place the scoured, wetted fibers into the vat and work them around while wearing gloves.
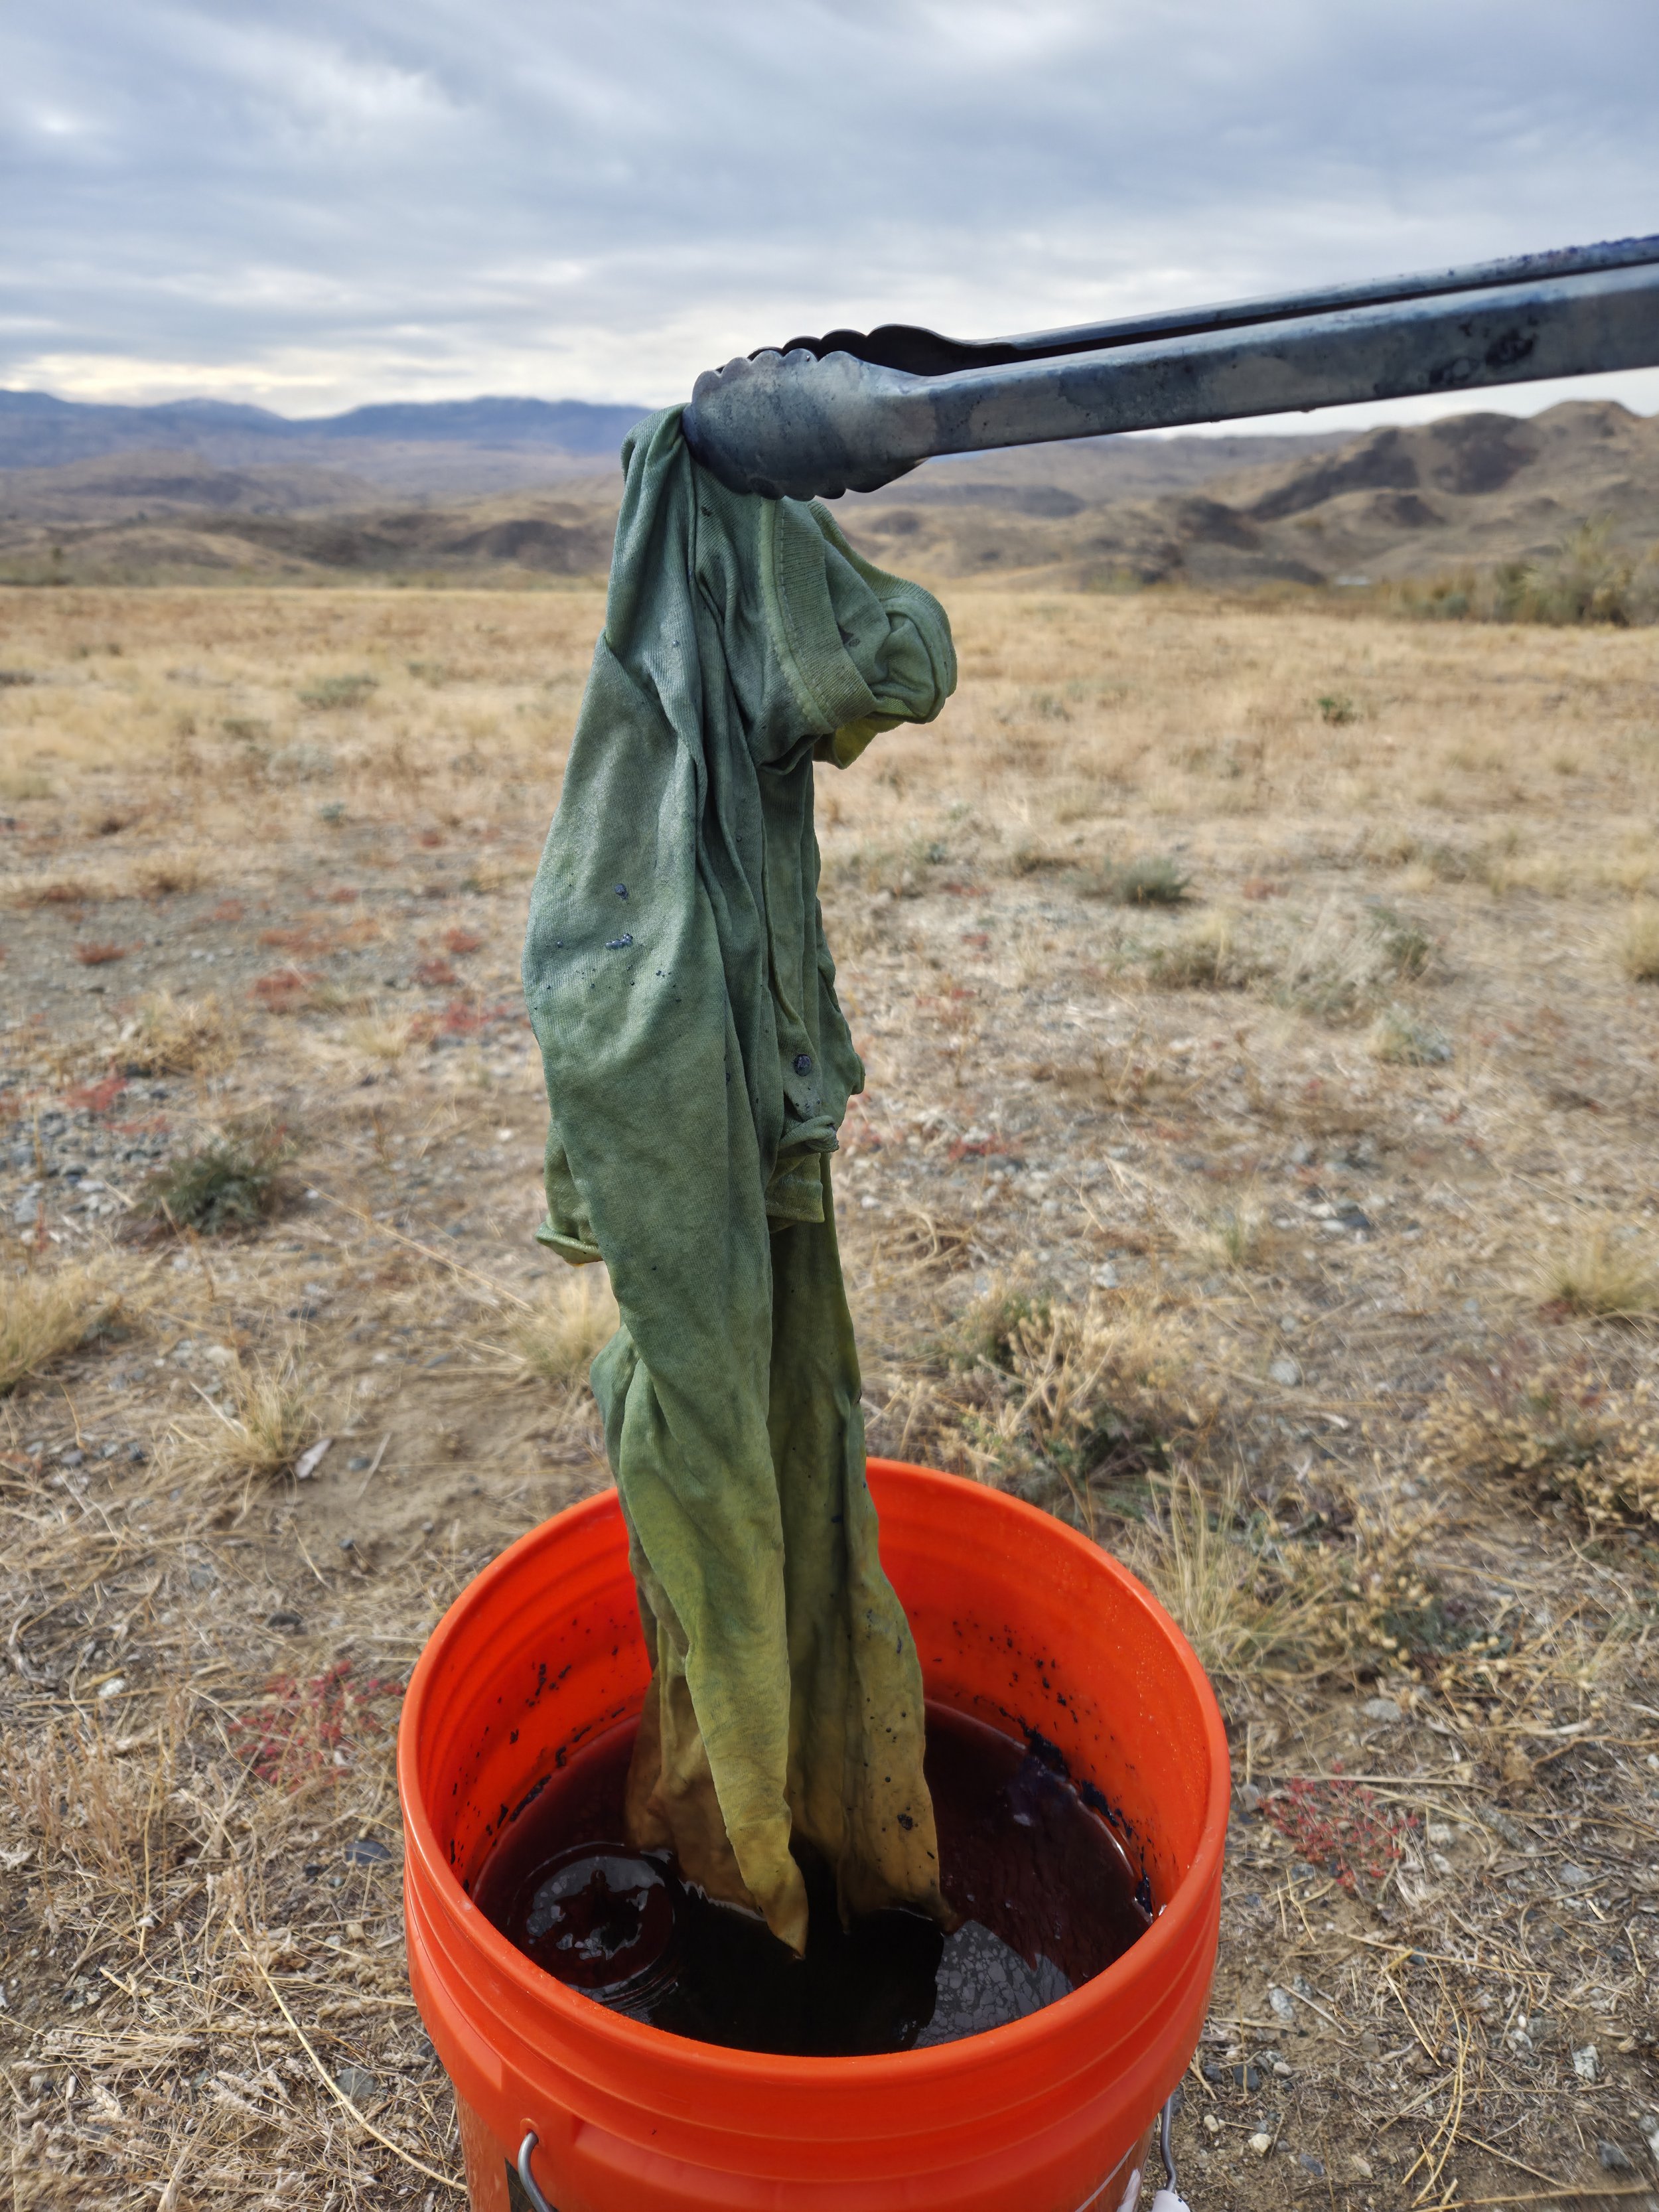
When first removed, the fibers will be yellow or brownish but will quickly start oxidizing to blue.
Before any fibers are dipped in the vat, they should be very well scoured (cleaned) and fully wetted through.
Wearing rubber gloves, gently slide the fibers beneath the surface of the vat. Use your hands to move the fibers around for a minute or two under the surface, squeezing and massaging them to make sure the liquid penetrates the fibers evenly. Try not to splash the water or otherwise draw any air into the vat, and be careful not to let the fibers touch the sediment at the bottom of the vat.
Leave the fibers in the vat for anywhere from 3 minutes to 30 minutes. The ideal time will depend on a variety of factors, such as the type of fiber and how densely it is spun or woven. We have used 20-minute dips as a starting point. If you are doing a short dip (say, 3 or 4 minutes) you may wish to simply hold the fibers under the surface of the vat by hand. If you are doing a long dip, you will need to leave the fibers in the vat without letting them touch the bottom. Some dyers like to put the fibers in a mesh bag and suspend it in the vat; other dyers put some sort of frame in the vat (for example, an upside-down pasta strainer) to keep the fibers off the bottom. If you are using a 5-gallon bucket, a “grit guard” (sold online or in the automotive section of big box stores) is especially convenient for this purpose.
If you are leaving the fibers in the vat for a long dip, be sure there are no bubbles trapped under them and that none of the fibers are poking above the surface; otherwise you may end up with darker or lighter spots. When doing a very long dip, you may also wish to gently move the fibers around under the surface of the vat every 10 minutes or so to help them dye more evenly, although you can skip this if you do not mind a slightly uneven look.
When the dip is finished, slowly and gently remove the fibers from the vat. If possible, try to squeeze some of the vat liquid back into the vat just below the surface as you are pulling the fiber out. However, try not to make any splashes or let liquid drip back into the vat from higher up. The goal is to keep as much of the vat liquid in the vat as possible without introducing any air into it — otherwise the vat will eventually empty of liquid to work with.
[Optional] Set aside a separate bucket of clean, lukewarm water. As soon as you have removed the fibers from the woad vat, plunge them in this bucket of water and stir them around very briefly — for no more than 5 seconds — and then pull them out and hang them up to oxidize. This quick plunge after every dip will help to remove organic sediment and poorly bonded woad from the surface of the fibers. This will help to prevent crocking later on, and it will make the final rinsing of the fibers much easier. This step is optional, but recommended.
Hang the fibers up to oxidize somewhere where dripping woad will not cause any damage. The fibers will change from a yellow or green shade to blue as air causes the dissolved leuco-indigo to oxidize. Let the fibers oxidize for at least 30 minutes. However, the exact length of time necessary will depend on how densely the fibers are spun or woven; some thick fabrics may need an hour to oxidize all the way through.
Once the fibers have oxidized, you can either dip them again to get a darker shade, or proceed to a final rinsing. However, note that the fibers will end up looking several shades lighter after they have been rinsed and dried, so you may want to keep dipping until the fibers look a bit darker than the color you are actually aiming for.
6. Rinsing
Woad tends to be much easier to rinse and much less prone to crocking than indigo (perhaps because there is simply less dye on the surface of the fibers). However, it is still important to follow the full sequence of rinsing and washing in order to get a bright blue that does not rub off. The four steps are outlined here — initial rinse, vinegar soak, hot soaping, and final rinse. The vinegar soak in particular can dramatically improve the shade of woad on plant fibers like cotton and linen, transforming a dull blue right out of the vat into a rich periwinkle or sky blue shade.
When you are finished dipping and oxidizing and are ready to wash the fibers, the first step is an initial rinse to get most of the organic sediment and unbonded woad off the surface. Rinse the fibers well in 1 or 2 changes of lukewarm water, without any detergent. However, do not worry about getting them 100% clean at this stage.
The second step is a vinegar soak. Fill a bucket with enough water for the fibers to move around freely. Add distilled white vinegar or apple cider vinegar (we use about 1/8 cup vinegar per gallon of soaking water) and mix well. Gently place the fibers in the vinegar solution and let soak for 30 minutes. The vinegar soak has three benefits. In the first place, it will brighten the blue shade and make it more intense. Second, the acid in the vinegar helps to neutralize the fibers after they have been soaking in a very alkaline indigo vat. Finally, the acetic acid in the vinegar helps to remove any calcium sediment on the fibers by converting it to calcium acetate, which is highly soluble in water and easily washes off. Removing this calcium sediment will help to prevent the color from crocking. After a 30 minute soak in the vinegar solution, remove and rinse the fibers well in lukewarm water.
The next step is a hot soaping. Fill a dye pot with enough lukewarm water for the fibers to move around freely. Add 1 teaspoon of pH-neutral detergent (we use Synthrapol), plus another teaspoon for each additional pound of fiber beyond the first. Heat the hot soap bath to 180°F for wool and silk, or a very gentle simmer for cotton and linen. Maintain this heat for 30 minutes, stirring the fibers occasionally. The water in the hot soap bath will take on a blue tint as poorly bonded woad precipitates off the surface of the fibers. After 30 minutes, turn off the heat and allow the soap bath to cool until the fibers can safely be handled.
The last step is a final rinse. Remove the fibers from the soap bath and rinse well in warm water. Avoid wringing them too hard (to prevent crocking while they are wet). Rinse gently until the water runs clear.
Hang up to dry somewhere out of direct sunlight.
[Troubleshooting] This treatment should be enough to successfully rinse woad-dyed fibers. Once dry, they should have good fastness to rubbing, although they should still be treated with caution initially. Do not wash them with other fabrics (and avoid sitting on light-colored furniture!) until they have been washed a few more times. If the fibers are still bleeding color after this 4-step rinsing process, you may want to repeat the hot soaping and final rinse.
*Color swatches are for informational purposes only. The exact color of any dyed piece depends on a multitude of factors and cannot be guaranteed.
*All text and images are copyright of Shepherd Textiles, LLC. Do not reproduce without permission and attribution.